Signs Your AC Needs Repair: A Homeowner’s Troubleshooting Guide
Warm air, strange noises, and spiking energy bills are all signs your AC needs repair. This guide walks you through what to look for, what you can check yourself, and when to call a licensed technician.
Why Do AC Systems Break Down in Southern California?
Southern California’s heat cycles, coastal humidity, and year-round AC use push systems harder than in most other regions. Units that run 8 to 10 months a year wear out faster than systems that sit idle through long winters.
Summer temperatures across the region regularly climb above 95°F, and the National Oceanic and Atmospheric Administration (NOAA) has documented a long-term warming trend for Southern California that adds more stress to residential cooling equipment. Coastal communities deal with salt-laden marine-layer air that accelerates corrosion on condenser coils and electrical contacts.
Older housing stock adds to the challenge. Many homes built in the 1970s and 1980s were never designed for modern high-efficiency equipment, and ductwork in those homes often leaks 20 to 30 percent of conditioned air before it ever reaches a room. When you combine aging infrastructure with relentless summer heat, the signs your AC needs repair tend to show up earlier and more often than homeowners expect.
Our technicians respond to roughly 3 times more emergency service calls in July and August than in any other two-month window, and the majority involve units that showed warning signs for weeks before they failed completely.
What Are the Warning Signs Your AC Needs Repair?
The clearest signs your AC needs repair are warm air from the vents, weak airflow, strange sounds, ice buildup, foul odors, water leaks, and unexplained jumps in your electricity bill. Catching even one of these early can mean the difference between a $150 repair and a $2,000 compressor replacement.
- Warm or lukewarm air: If your vents are blowing air that feels room temperature or warmer, the system may be low on refrigerant, have a failing compressor, or have a malfunctioning expansion valve.
- Weak or uneven airflow: Poor airflow through vents often points to a clogged filter, failing blower motor, or leaky ductwork. Rooms that stay warm while others cool normally are a classic sign.
- Ice on the indoor unit or refrigerant lines: Ice forming on the evaporator coil or copper lines means refrigerant flow is restricted or airflow is blocked. Running a frozen unit can damage the compressor within hours.
- Grinding, squealing, or banging noises: Grinding usually means metal-on-metal contact inside the blower or compressor. Squealing often signals a worn belt or bearing. Banging can mean a loose or broken component inside the cabinet.
- Musty or burning odors: A musty smell typically points to mold or mildew in the evaporator coil or drain pan. A burning smell can indicate overheating electrical components — turn the system off immediately.
- Water pooling around the indoor unit: The condensate drain line can clog with algae or debris, causing water to back up and overflow the drain pan. Left unattended, this leads to water damage and mold growth.
- Frequent short-cycling: If the system turns on and off every few minutes without completing a full cooling cycle, it may be oversized, low on refrigerant, or have a failing thermostat or pressure switch.
- Electricity bills that spike suddenly: A 15 to 25 percent jump in your cooling-season electric bill with no change in usage habits usually means the system is working harder than it should — a strong sign something is wrong mechanically.
Symptom, Likely Cause, and What to Do: A Quick-Reference Table
Use this table to match what you’re seeing or hearing to the most likely cause and decide whether it’s safe to troubleshoot yourself or time to call a pro.
| Symptom | Likely Cause | DIY or Pro? |
|---|---|---|
| Warm air from vents | Low refrigerant, failed compressor, or bad expansion valve | Pro — refrigerant work requires EPA Section 608 certification |
| Weak airflow | Dirty filter, failed blower motor, or leaky ducts | DIY for filter; Pro for motor or duct work |
| Ice on the unit | Low refrigerant or blocked airflow | DIY to turn off and thaw; Pro to find the root cause |
| Grinding or banging noise | Loose or broken internal component, failing motor | Pro — risk of further damage if run |
| Musty odor | Mold in evaporator coil or drain pan | DIY flush of drain line; Pro for coil cleaning |
| Burning smell | Overheating electrical components or wiring | Pro immediately — fire risk |
| Water pooling indoors | Clogged condensate drain line | DIY flush attempt; Pro if blockage persists |
| Short-cycling | Refrigerant issue, bad thermostat, or oversized unit | Pro — diagnosis requires gauges and electrical testing |
| High electric bill | Dirty coils, low refrigerant, or aging compressor | Pro for full system efficiency check |
What Can You Check Yourself Before Calling a Pro?
Several of the most common AC problems have simple causes you can rule out in under 15 minutes without any tools. Working through this list first can save you a service call fee and helps the technician diagnose faster if you do need professional help.
Step 1: Check and Replace the Air Filter
A clogged filter is responsible for a surprising share of weak-airflow and ice-buildup calls. Filters in Southern California homes should typically be replaced every 30 to 60 days during heavy cooling season. Hold the filter up to a light — if you cannot see light through it, replace it before anything else.
Step 2: Check the Thermostat Settings
Confirm the thermostat is set to COOL (not FAN or HEAT) and that the set temperature is at least 3 to 5 degrees below the current room temperature. Replace the thermostat batteries if the display looks dim. A programmable or smart thermostat that has lost its schedule can cause the system to behave erratically.
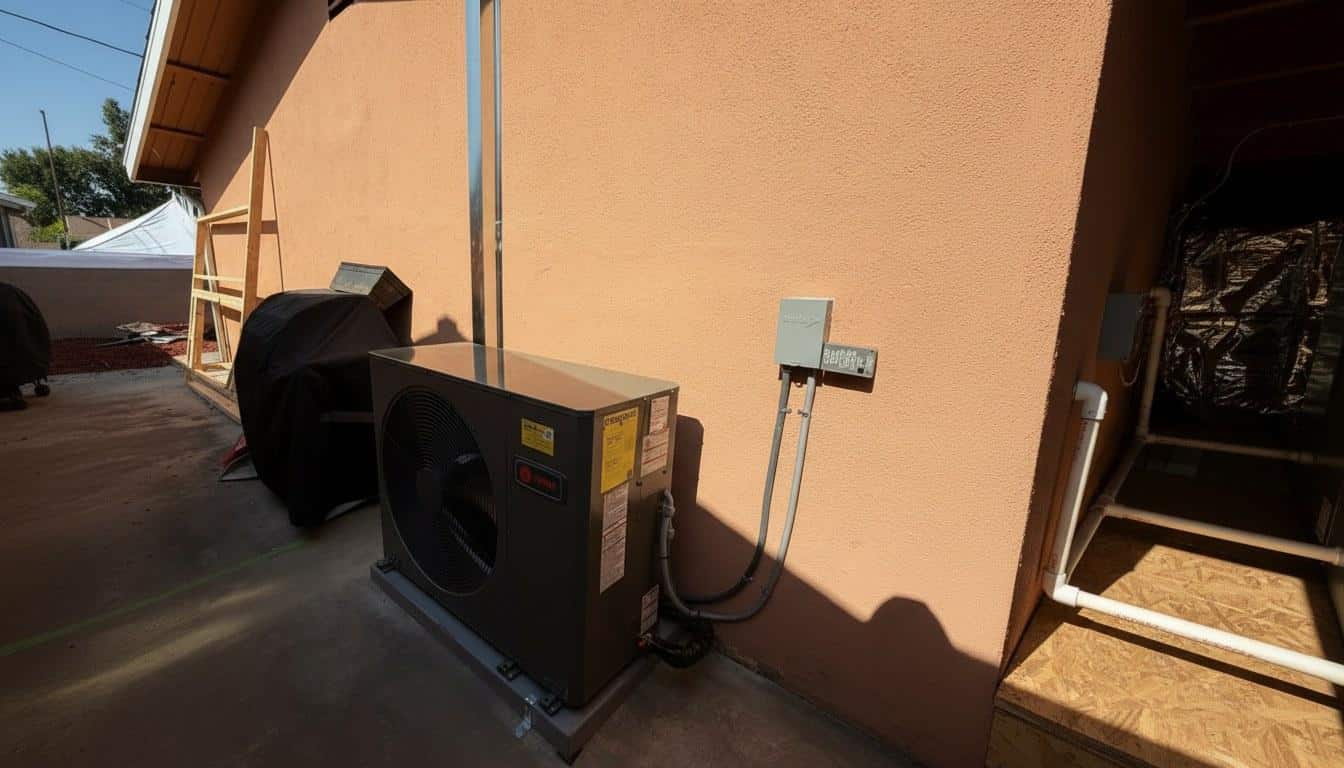
Step 3: Inspect the Circuit Breaker
Go to your electrical panel and check whether the breaker for the air handler or outdoor condenser has tripped. Reset it once by flipping it fully off and then back on. If it trips again within a few minutes, stop — a repeatedly tripping breaker signals an electrical fault that needs a licensed technician.
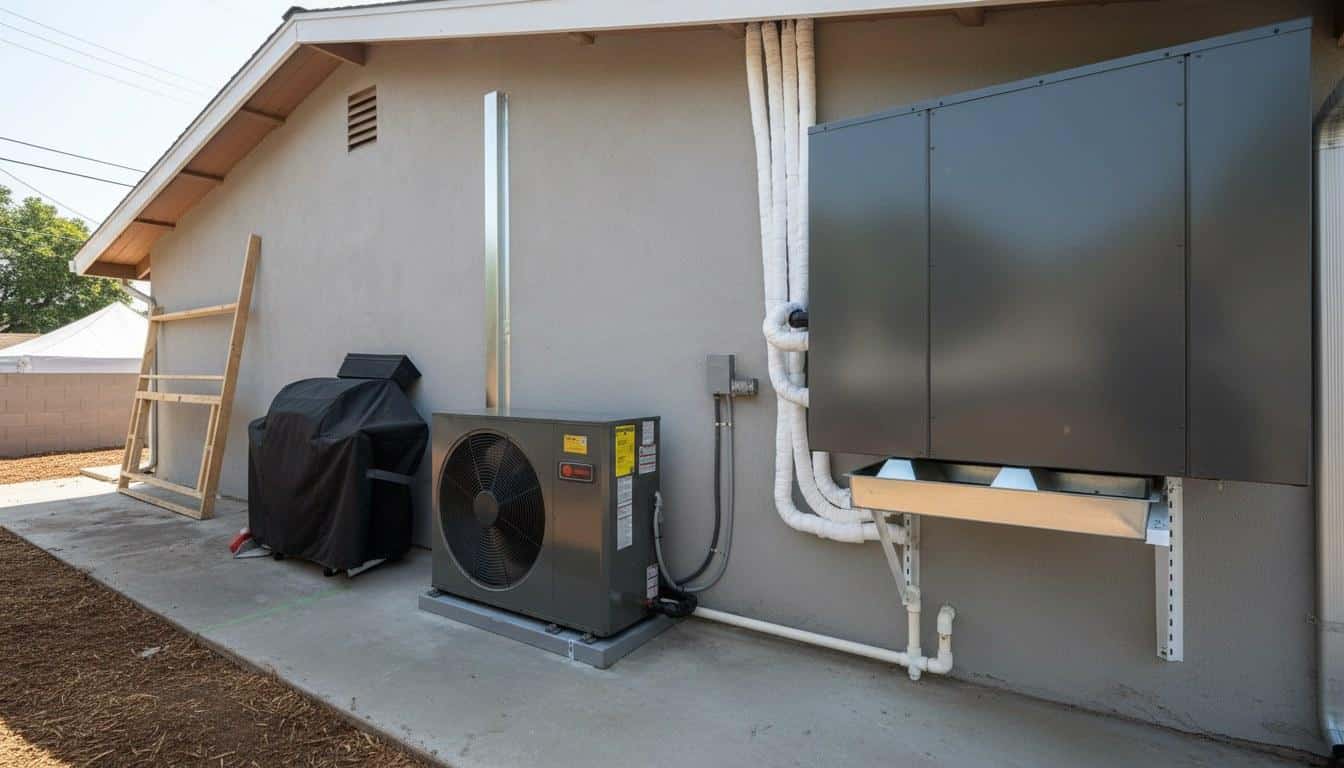
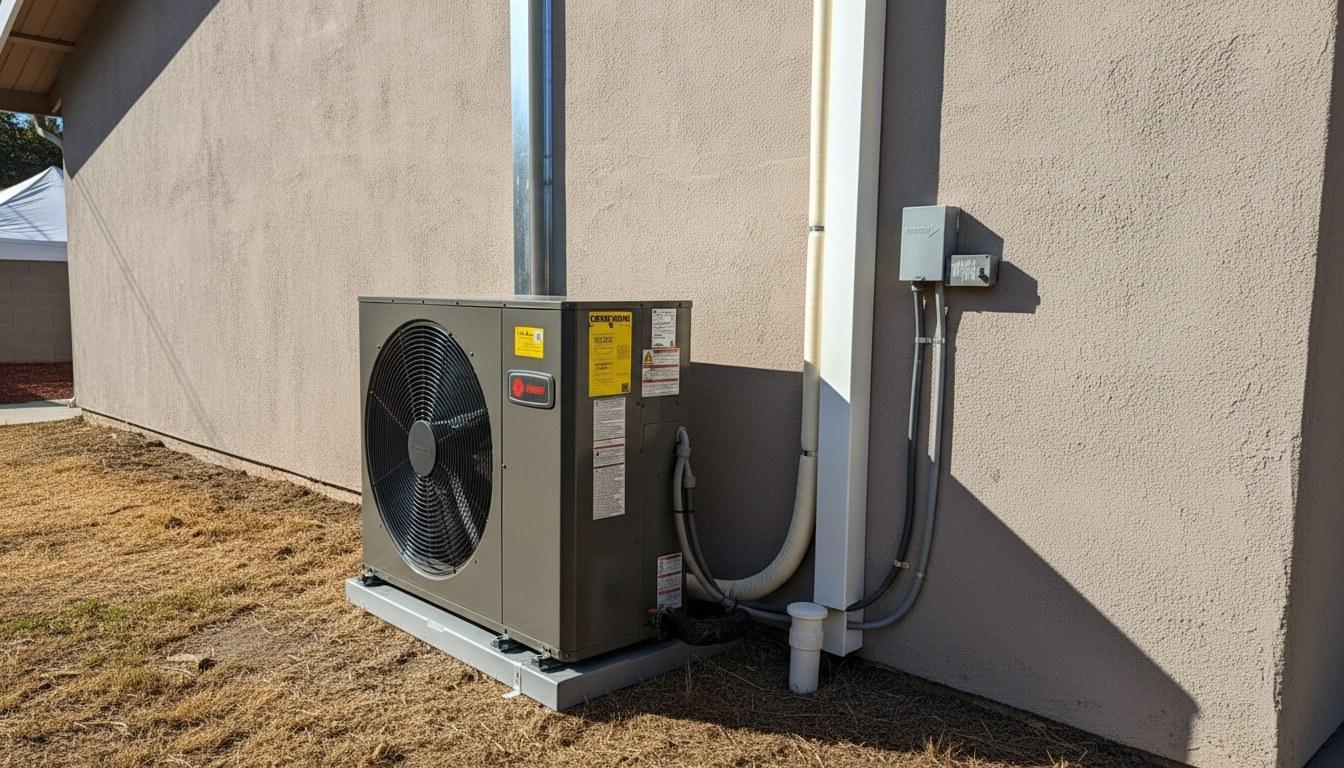
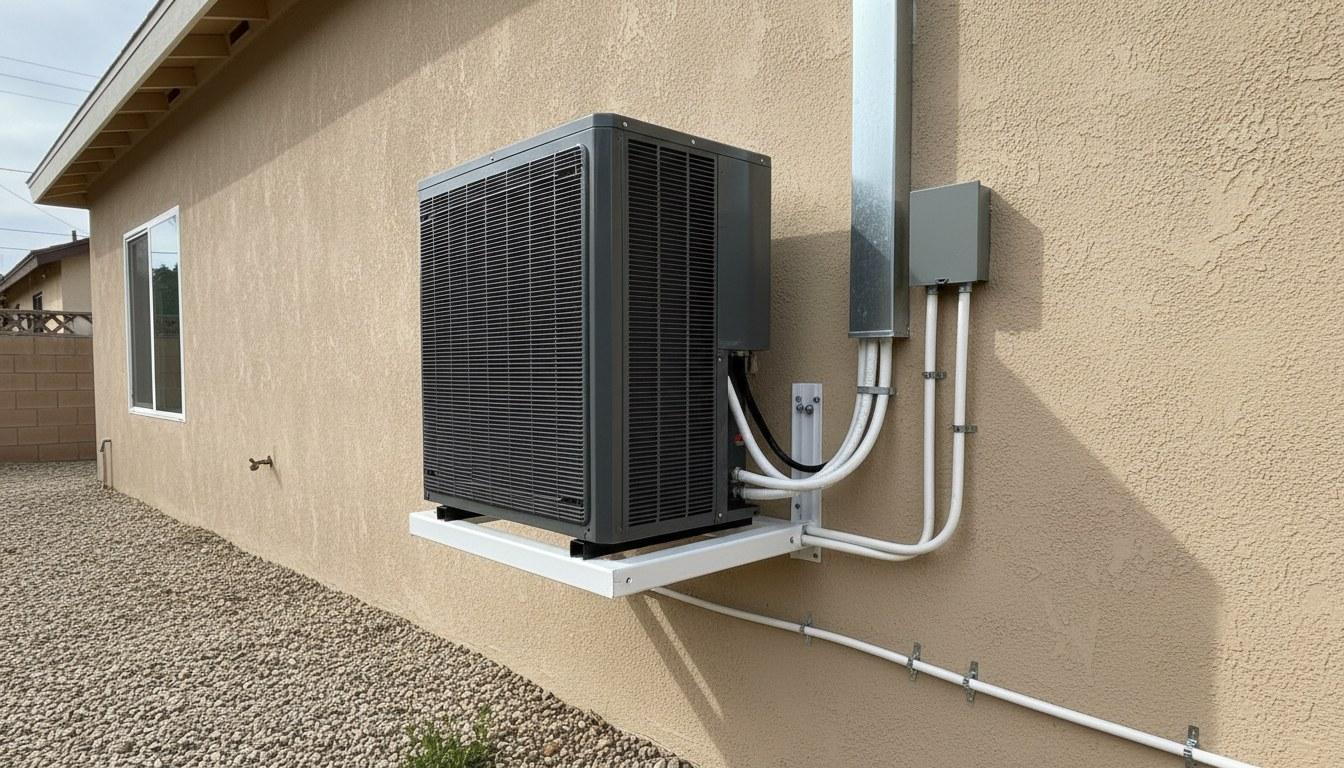
Step 4: Clear the Area Around the Outdoor Condenser
The condenser needs at least 2 feet of clearance on all sides for proper airflow. Remove any leaves, debris, or overgrown shrubs. Gently rinse the condenser fins with a garden hose from the inside out if they look visibly clogged with dirt — but never use a pressure washer, which can bend the fins.
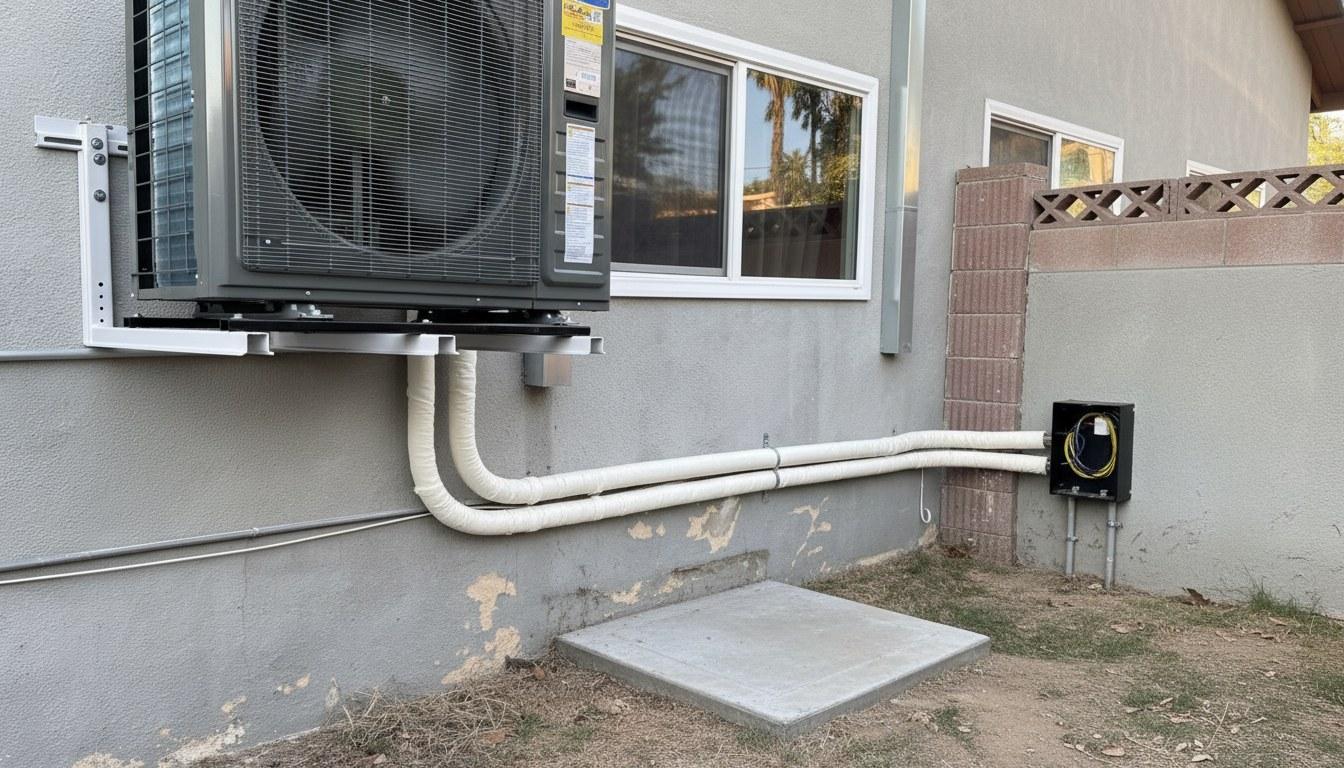
Step 5: Check the Condensate Drain Line
Find the PVC drain line that exits the indoor air handler, usually near the floor or through an exterior wall. Pour a cup of distilled white vinegar into the access port (a capped T-fitting on the line) to break up algae buildup. If water is already overflowing the drain pan, use a wet-dry vacuum on the exterior end of the drain line to pull the clog free.
Step 6: Look for Ice on the Indoor Unit
Open the access panel on the air handler and look at the evaporator coil. If you see frost or ice, turn the system to FAN ONLY for 2 to 3 hours to let it thaw completely before calling for service. Running a frozen coil can destroy the compressor, which is one of the most expensive components in the system.
Running a frozen coil can destroy the compressor, which is one of the most expensive components in the system.
When Should You Call a Licensed HVAC Technician?
Call a licensed HVAC pro when you smell burning, see ice that returns after thawing, hear grinding or banging, or notice the breaker trips repeatedly. These symptoms point to refrigerant, electrical, or mechanical issues that require specialized tools and certifications to fix safely.
Under EPA refrigerant regulations (Section 608), only certified technicians may purchase and handle refrigerants like R-410A or the newer R-454B. Attempting to add refrigerant yourself is illegal and can void your equipment warranty. If your system is low on refrigerant, there is also a leak somewhere — adding more without finding and fixing the leak just delays the inevitable failure.
Electrical work inside the air handler or at the disconnect box carries real shock and fire risk. California requires HVAC contractors to be Licensed by the California Contractors State License Board (CSLB) — always verify a contractor’s license number before allowing any electrical or refrigerant work.
You should also call a pro if your system is more than 10 to 12 years old and showing multiple symptoms at once. At that age, the cost of multiple repairs can approach the cost of a new system, and a licensed technician can help you run the numbers honestly.
Across our service calls in the region, we see refrigerant leak repairs increase by roughly 25 percent on systems installed before 2015 — and in most of those cases, the homeowner had noticed at least two warning signs for several weeks before calling.
How Much Does AC Repair Typically Cost in This Market?
Most residential AC repairs in the Southern California market typically range from $150 to $1,500, depending on what failed and how long the system has been running with the problem. A few specific factors drive most of the variation in price.
Here is a breakdown of the most common repair categories and their typical market ranges:
- Capacitor replacement: Capacitors are one of the most common failures on units older than 8 years. Replacement typically runs $150 to $400 in this market, including labor.
- Refrigerant recharge and leak repair: A refrigerant recharge alone typically costs $200 to $600 depending on the refrigerant type and amount needed. Finding and repairing the leak adds $150 to $500 more depending on where the leak is located.
- Blower motor replacement: A failed indoor blower motor typically costs $350 to $700 to replace, including parts and labor.
- Evaporator coil cleaning or replacement: Professional coil cleaning runs $100 to $400. A full evaporator coil replacement is more involved and typically ranges from $700 to $1,400.
- Compressor replacement: This is the most expensive single repair, typically ranging from $1,200 to $2,500 or more. On a system older than 10 years, replacement of the full outdoor unit often makes more financial sense.
- Condensate drain line clearing: A professional drain flush or clearing typically costs $75 to $200.
- Thermostat replacement: A standard programmable thermostat swap runs $150 to $350 installed. A smart thermostat installation may run $250 to $500 depending on the model and wiring complexity.
The factors that move any repair toward the higher end of its range include the age of the equipment, refrigerant type (older R-22 systems are far more expensive to service), access difficulty, and whether the failure caused secondary damage. ENERGY STAR recommends comparing repair costs against 50 percent of the replacement cost of the system — if a single repair exceeds that threshold on a system older than 10 years, replacement is usually the smarter long-term investment.
If your system qualifies for a new high-efficiency replacement, the Inflation Reduction Act federal tax credit offers up to 30 percent back (capped at $600 for central AC units) on qualifying equipment as of 2026. The TECH Clean California rebate program may also offer additional incentives depending on your utility provider and income level. A licensed contractor can confirm which programs apply to your specific situation.
For an accurate repair estimate, request a custom quote before any work begins. Pricing varies by system type, refrigerant, and scope of work.
Get Expert AC Help Today
If you spotted one or more of these warning signs, do not wait for a complete breakdown on the hottest day of the year. Small problems caught early — a clogged drain, a failing capacitor, a slow refrigerant leak — are far less expensive to fix than the cascade of damage a neglected system can cause.
Shalom Heating & Air serves homeowners across Southern California with honest diagnostics, licensed technicians, and repairs backed by real workmanship. Whether you need a quick fix or a full system evaluation, the team is ready to help.
Call (714) 886-2021 to schedule a diagnostic visit or request a written quote. Same-day and next-day appointments are available for urgent cooling problems.
Explore our full range of HVAC services across Southern California.
Frequently Asked Questions
How do I know if my AC just needs a recharge or if there's something more seriously wrong?
Low refrigerant is almost always the result of a leak, not normal consumption. If your system is blowing warm air and the technician finds it low on refrigerant, there is a leak somewhere in the coil, line set, or fittings that needs to be located and repaired. Simply recharging without fixing the leak will only delay the problem by a few months. A licensed technician will pressure-test the system to find the leak before adding any refrigerant.
How much does it typically cost to repair an AC unit in Southern California?
Most residential AC repairs in the Southern California market range from about $150 for a simple capacitor swap up to $1,500 or more for refrigerant leak repairs or blower motor replacements. Compressor replacement is the most expensive single repair, typically running $1,200 to $2,500. The age of the system, refrigerant type, and whether secondary damage occurred all affect the final cost. Request a written quote before any work begins so you can compare repair cost against replacement cost.
Why is my air conditioner blowing warm air even though it's running?
Warm air from a running AC usually means the system is low on refrigerant, the compressor is failing, or the condenser coils are too dirty to release heat outside. It can also happen if the thermostat is set incorrectly or the air filter is so clogged it is blocking airflow over the evaporator coil. Check the filter and thermostat settings first. If those are fine, the problem almost certainly requires a licensed technician with refrigerant gauges to diagnose properly.
Is it safe to keep running my AC if it's making a grinding or banging noise?
No — turn the system off immediately if you hear grinding or banging. Grinding usually means metal components inside the blower or compressor are contacting each other, and continuing to run the unit can turn a $300 repair into a $2,000 compressor replacement. Banging can mean a loose or broken part is moving around inside the cabinet. Both sounds require a professional inspection before the system is restarted.
How often should I have my AC serviced to prevent unexpected breakdowns?
The U.S. Department of Energy and most HVAC industry standards recommend a professional tune-up once a year, ideally in early spring before the cooling season starts. In Southern California, where systems run 8 to 10 months a year, some homeowners benefit from a second check in the fall. Annual maintenance typically includes cleaning the coils, checking refrigerant levels, testing electrical connections, and clearing the condensate drain — the tasks most likely to prevent mid-summer failures.