Emergency AC Repair Guide: What to Do When Your Air Conditioner Fails
When your AC stops working in the middle of a heat wave, every minute counts. This emergency AC repair guide walks you through the warning signs, common causes, cost ranges, and the right steps to take.

How Do You Know If Your AC Needs Emergency Repair?
Your AC needs emergency repair when it stops cooling entirely, produces warm air, makes loud grinding or banging noises, or causes your circuit breaker to trip repeatedly. Any of these signs during temperatures above 90°F should be treated as urgent. Ignoring them for even a few hours can turn a minor fix into a full system replacement.
Southern California summers regularly push daytime highs past 95°F, and the National Weather Service issues heat advisories across the region every year from June through September. During those windows, a failed AC is not just uncomfortable — it can be dangerous for children, elderly residents, and anyone with a respiratory condition.
Watch for these warning signs that signal an urgent problem:
- No cool air at all: The system runs but only pushes warm or room-temperature air through the vents.
- Ice on the unit: Frost or ice forming on the refrigerant lines or evaporator coil points to a refrigerant issue or blocked airflow.
- Tripping breakers: If the AC trips the circuit breaker more than once, stop resetting it and call a technician — this signals a serious electrical or compressor fault.
- Grinding, banging, or screeching sounds: These usually mean a failing motor bearing, a loose blower wheel, or a compressor under stress.
- Water pooling inside: A clogged condensate drain can overflow and damage ceilings, walls, and flooring within hours.
- Burning smell: Any electrical burning odor means you should shut the system off immediately and call for service.
If your system is simply blowing weak air or running longer than usual, that is less urgent but still worth scheduling within a day or two before it escalates.
What Are the Most Common AC Failures and What Causes Them?
The most common emergency AC failures are capacitor failure, refrigerant leaks, frozen evaporator coils, dirty condenser coils, and compressor problems. Capacitor failure is the single most frequent cause of a sudden AC shutdown during summer heat.
Capacitor failure is the single most frequent cause of a sudden AC shutdown during summer heat, and it almost always strikes units 10 years old or older.
Our technicians replace capacitors on roughly 3 to 5 service calls every week during July and August — almost all of them on units that are 10 years old or older. Heat accelerates capacitor wear, which is why failures spike on the hottest days of the year when the system is working hardest.
Here is a breakdown of the most common failures, their typical causes, and whether a homeowner can address them before a tech arrives:
| Failure Type | Common Cause | DIY Before Tech Arrives? |
|---|---|---|
| Capacitor failure | Age, heat stress on units 10+ years old | No — electrical component, leave off |
| Refrigerant leak | Corroded coils, vibration cracks, age | No — requires EPA 608 certification |
| Frozen evaporator coil | Dirty filter, blocked return air, low refrigerant | Yes — turn off cooling, run fan only to thaw |
| Clogged condensate drain | Algae buildup, debris in drain pan | Yes — flush with diluted bleach if accessible |
| Dirty condenser coils | Dust, cottonwood, grass clippings | Partial — rinse outdoor unit gently with hose |
| Compressor failure | Electrical fault, refrigerant overcharge, age | No — requires full professional diagnosis |
| Blower motor failure | Worn bearings, capacitor fault, overheating | No — motor replacement required |
Refrigerant handling is regulated under EPA refrigerant regulations (Section 608), which means only certified technicians can legally purchase, handle, and recharge refrigerants like R-410A or the newer R-454B. Never let an uncertified person touch your refrigerant lines.
Emergency AC Repair Guide: What to Do Before the Technician Arrives
Before the technician arrives, check your thermostat settings, replace or inspect the air filter, reset the circuit breaker once, and clear the area around your outdoor condenser unit. These steps take about 15 minutes and can sometimes resolve the issue — or at minimum speed up the diagnosis.
Follow these steps in order:
- Check the thermostat: Make sure it is set to COOL, not FAN or HEAT. Set the target temperature at least 5°F below the current room temperature. Replace the batteries if the display is dim or blank.
- Inspect the air filter: A filter clogged with dust restricts airflow and can freeze the evaporator coil within hours. If it looks gray and matted, replace it with a new 1-inch or 4-inch filter matching your system’s size. Filters should be changed every 30 to 90 days depending on household dust levels.
- Check the circuit breaker: Go to your electrical panel and look for the AC breaker. If it has tripped to the middle position, flip it fully off and then back on — but only once. If it trips again, leave it off and wait for the technician.
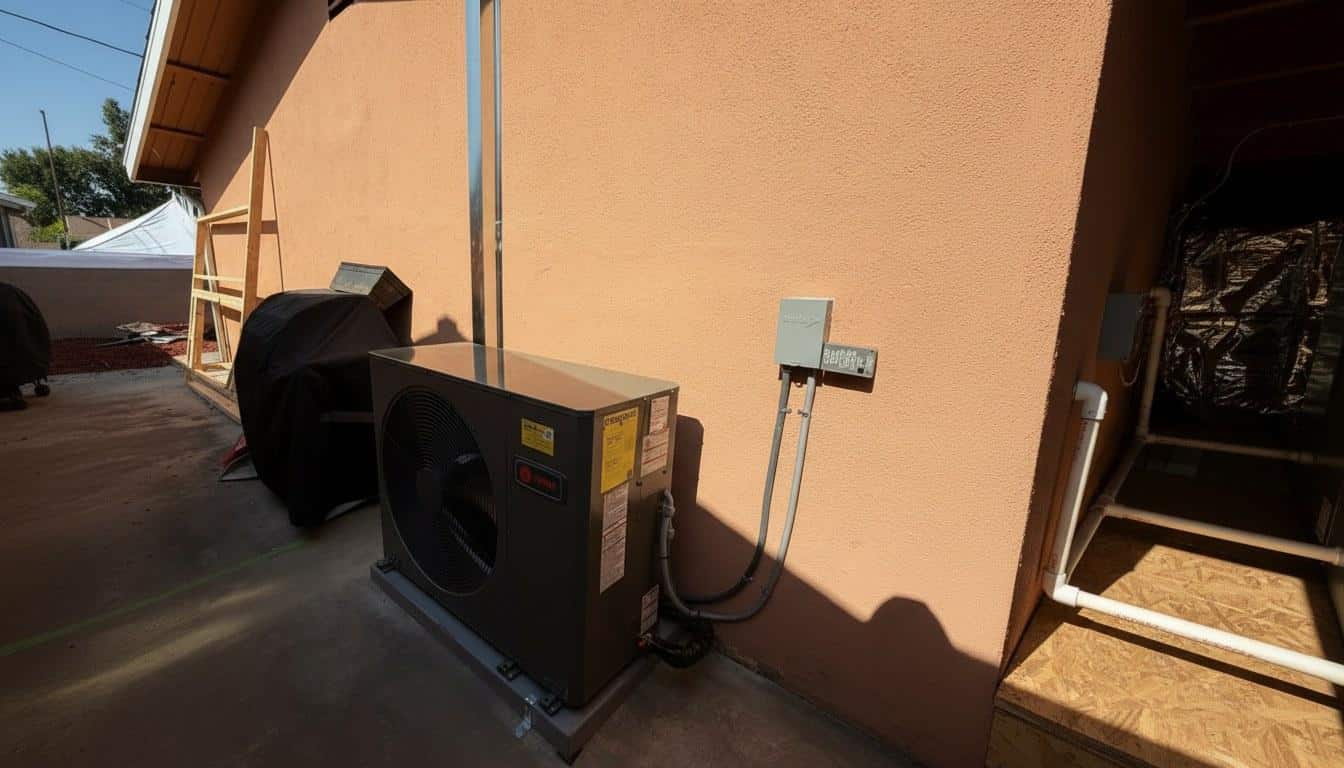
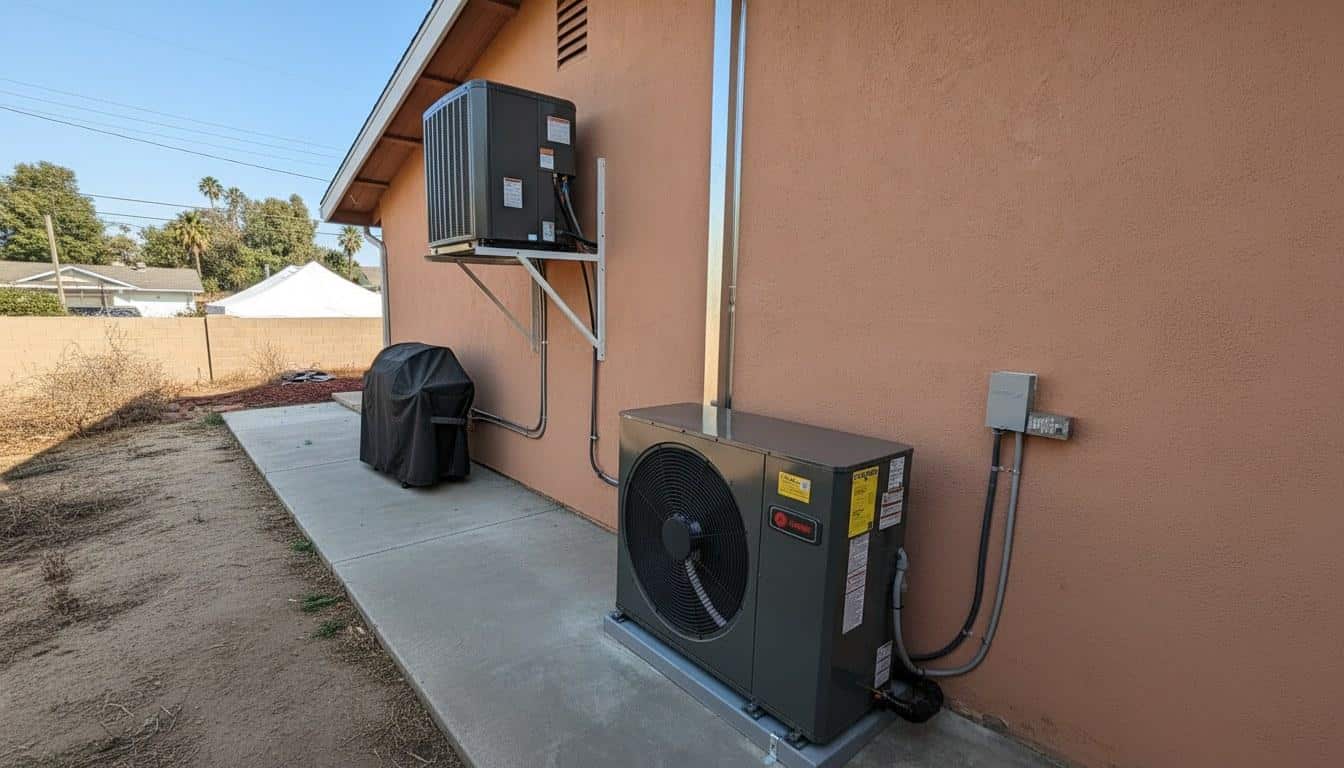
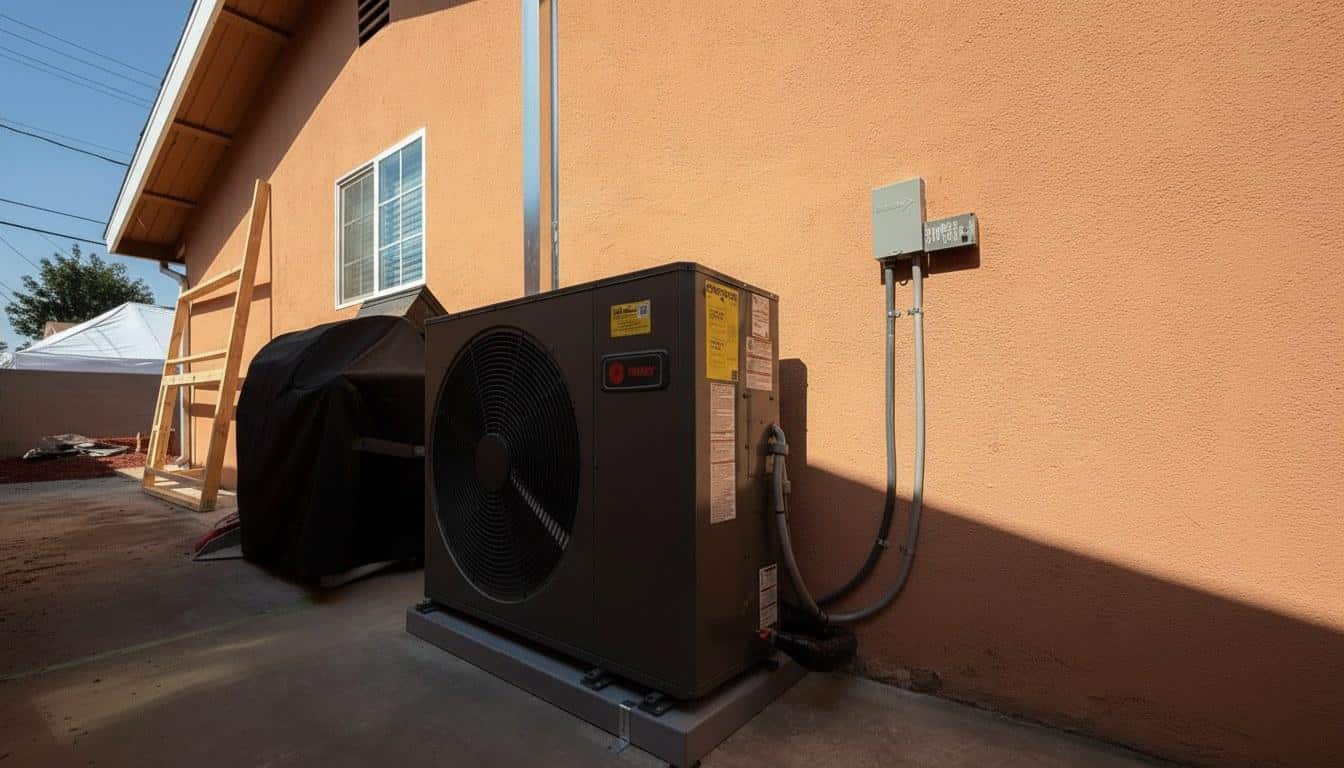
- Check the disconnect box: The outdoor condenser unit has a metal disconnect box mounted on the wall nearby. Open it and confirm the disconnect block is fully seated. Sometimes vibration can loosen it.
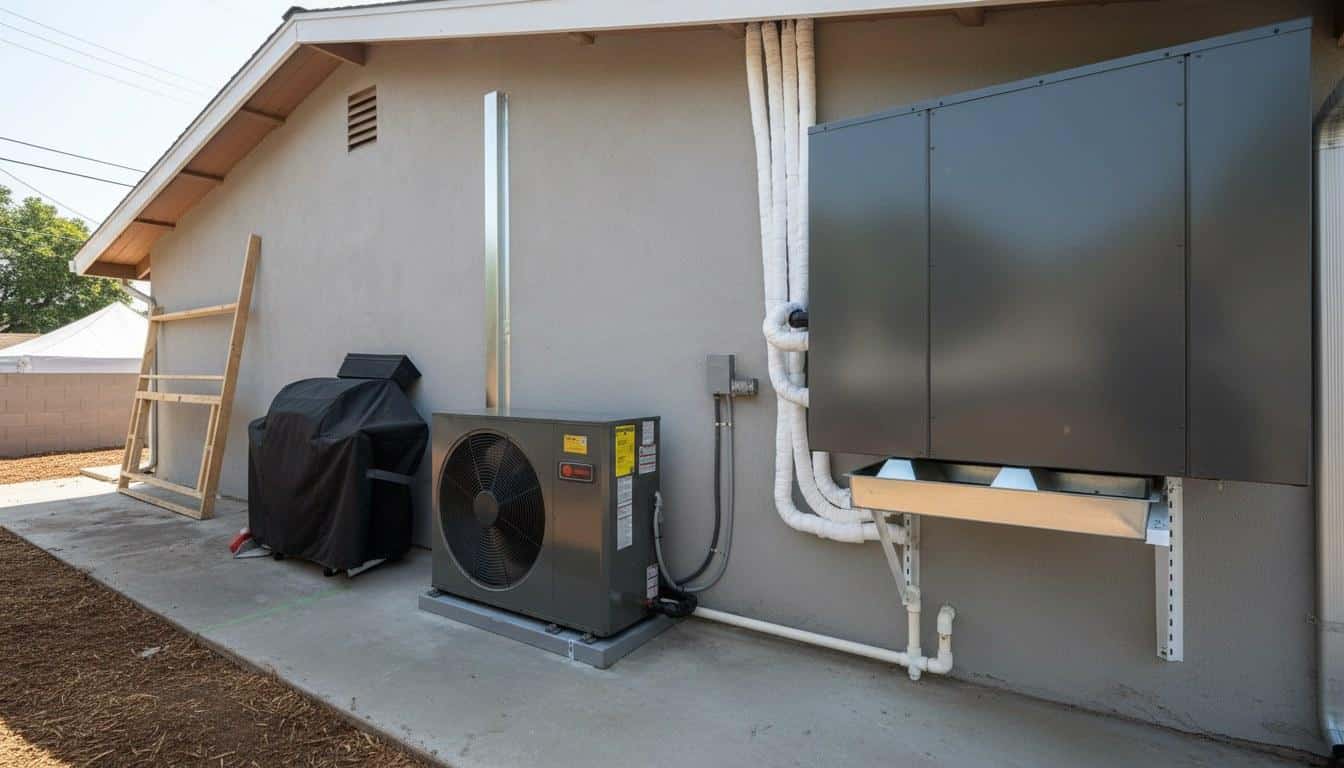
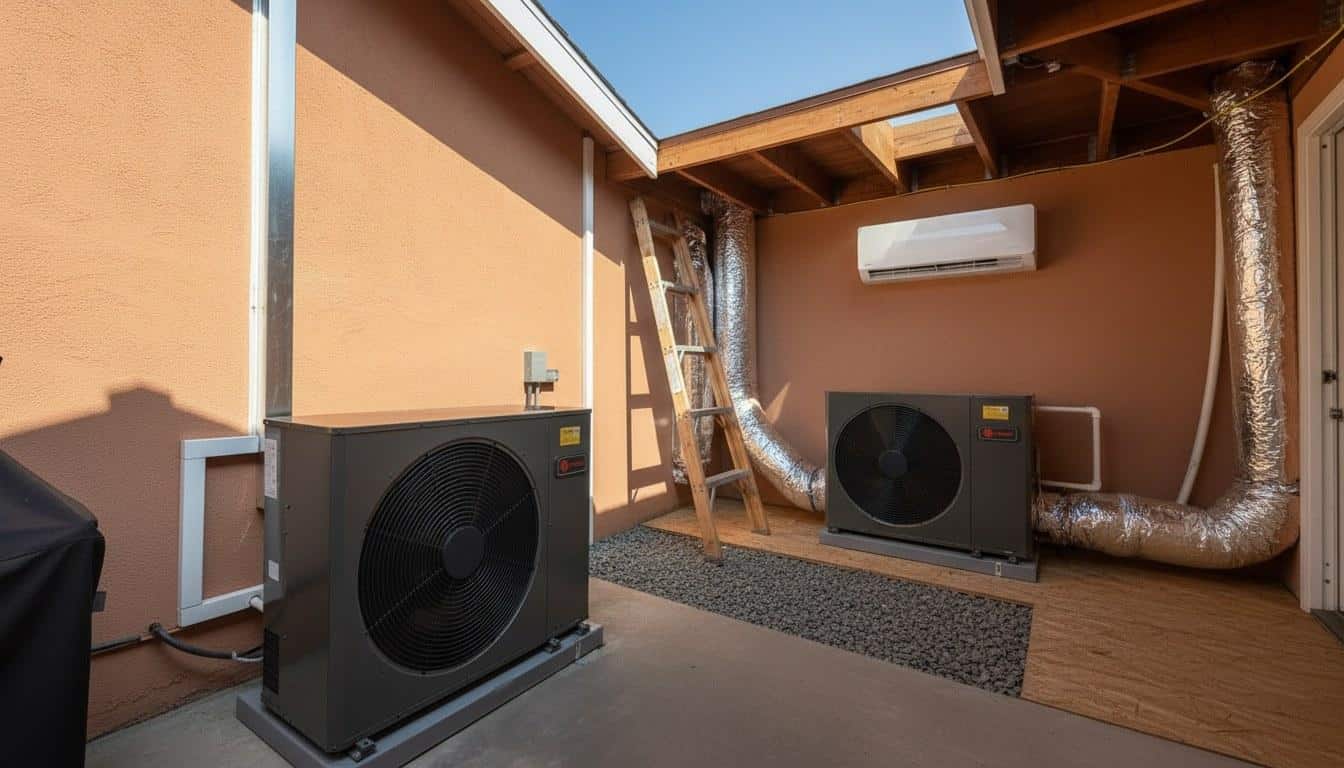
- Clear the outdoor unit: Remove any leaves, grass clippings, or debris from around the condenser. Keep at least 2 feet of clearance on all sides. If the unit is visibly dirty, a gentle rinse with a garden hose (power off first) can help.
- If the coil is frozen: Switch the thermostat to FAN ONLY (not off, not cool) and let it run for 1 to 2 hours to thaw the coil before the technician arrives. Do not run the compressor on a frozen coil — it can damage the compressor.
- Document the symptoms: Note when the problem started, any unusual sounds, and whether the outdoor unit is running. This information cuts diagnosis time significantly.
While you wait, keep interior doors closed and use window coverings to block direct sunlight. Every degree you keep out of the house reduces the risk of heat-related illness while the repair is underway.
How Much Does Emergency AC Repair Cost?
Emergency AC repair in Southern California typically ranges from $150 to $1,800 depending on the part involved, whether it is after-hours service, and the age of the system. Capacitor replacements are at the lower end; compressor repairs or refrigerant recharges sit at the higher end.
After-hours and weekend service calls generally carry a premium of $50 to $150 over standard weekday rates. That surcharge is almost always worth it during a heat advisory when indoor temperatures can climb past 85°F within a few hours of an AC failure.
Here is a typical cost range breakdown by repair type in this regional market:
| Repair Type | Typical Market Range (CA) | Key Cost Factors |
|---|---|---|
| Capacitor replacement | $150 – $400 | Single vs. dual-run capacitor, access difficulty |
| Refrigerant recharge (R-410A) | $200 – $600 | Amount needed, leak detection included or not |
| Refrigerant leak repair | $300 – $1,500 | Location of leak, coil vs. line set, labor time |
| Condensate drain clearing | $75 – $250 | Severity of clog, drain pan condition |
| Blower motor replacement | $400 – $900 | Motor size, OEM vs. aftermarket, access |
| Compressor replacement | $800 – $2,500+ | Tonnage, refrigerant type, warranty status |
| Evaporator coil replacement | $700 – $2,000 | Coil size, refrigerant type, labor hours |
These ranges reflect the regional market as of 2025 and will shift with refrigerant prices, parts availability, and system complexity. The ENERGY STAR program notes that a well-maintained system can reduce energy costs by up to 15% annually compared to a neglected one — meaning deferred repairs compound into higher utility bills on top of the repair cost itself.
Always request a written estimate before any work begins. A reputable contractor will provide a line-item quote covering parts, labor, and any after-hours fees. Contact Shalom Heating & Air at (714) 886-2021 for a custom quote on your specific situation.
Should You Repair or Replace Your AC Unit?
Repair your AC if the unit is under 10 years old and the repair cost is less than 50% of the cost of a new system. Replace it if the unit is 12 to 15 years old, uses the phased-out R-22 refrigerant, or if repair costs exceed half the price of a new installation.
The U.S. Department of Energy recommends replacing AC systems older than 15 years, especially when a major component like the compressor fails. At that age, efficiency has typically dropped well below the original ENERGY STAR SEER2 ratings, and the cost of continued repairs rarely pencils out against a new, more efficient system.
Use this quick decision framework:
- Unit is under 8 years old: Almost always worth repairing unless the compressor has failed on a system with no warranty.
- Unit is 8 to 12 years old: Repair if the cost is under $800 and the system has been maintained. Replace if the compressor or coil needs replacement.
- Unit is 12 to 15+ years old: Strongly consider replacement. New systems with SEER2 ratings of 16 or higher can cut cooling costs by 20% to 40% compared to an older 10 SEER unit.
- System uses R-22 refrigerant: R-22 has been banned from production since January 2020. Recharging an R-22 system is expensive and a short-term fix — replacement is the smarter path.
- Frequent repairs in the last 2 years: If you have spent more than $1,000 on repairs in the past 24 months, a new system is likely the better investment.
Homeowners who replace aging systems may also qualify for the Inflation Reduction Act federal tax credit, which covers up to 30% of the cost of a qualifying high-efficiency heat pump system (up to $2,000 per year as of 2024). California’s TECH Clean California rebate program may stack additional savings on top of that federal credit depending on income and system type.
How Do You Choose a Qualified AC Repair Technician?
Choose a technician who is licensed by the California Contractors State License Board (CSLB), carries EPA Section 608 refrigerant certification, and provides a written estimate before starting work. These three criteria filter out the vast majority of unqualified operators.
Across our service calls in Southern California, we see roughly 1 in 4 customers who previously had work done by an unlicensed contractor — most commonly incomplete refrigerant repairs or capacitor replacements that used undersized parts. Those jobs typically cost less upfront but result in repeat failures within one cooling season.
Here is what to verify before hiring any HVAC technician:
- CSLB license: Verify the contractor’s C-20 (warm-air heating and air conditioning) license at cslb.ca.gov. This takes about 60 seconds and confirms the license is active and in good standing.
- EPA 608 certification: Required by federal law for anyone handling refrigerants. Ask to see the certification card or certificate number.
- Liability insurance and workers’ comp: Protects you if something goes wrong on your property.
- Written estimate: Any reputable contractor will put the scope, parts, labor, and total cost in writing before starting. Walk away from anyone who refuses.
- Diagnostic fee policy: Most companies charge a diagnostic fee of $75 to $150. Ask upfront whether that fee is waived or applied toward the repair if you proceed.
- Parts warranty: Quality contractors offer at least a 90-day warranty on parts and labor. Many offer 1 year.
ACCA (Air Conditioning Contractors of America) recommends that any new system installation or major repair include a Manual J load calculation to ensure the equipment is properly sized for the home. Oversized or undersized systems cycle incorrectly, wear out faster, and fail to dehumidify properly — a common problem in coastal communities where humidity adds to the cooling load.
Also confirm the contractor follows California’s Title 24 building energy standards for any replacement or new installation. Non-compliant installations can create permit and resale issues down the road.
Explore our full range of HVAC services across Southern California.
Frequently Asked Questions
How much does it usually cost to repair an AC unit in Southern California?
Most AC repairs in Southern California range from $150 to $1,800 depending on the part involved and whether the call is after-hours. Simple fixes like a capacitor replacement typically run $150 to $400, while refrigerant leak repairs or compressor work can reach $1,500 or more. After-hours emergency calls generally add $50 to $150 to the base service fee. Always get a written estimate before any work begins.
Why is my air conditioner running but not cooling the house?
The most common reasons an AC runs without cooling are a refrigerant leak, a failed capacitor, a frozen evaporator coil, or a dirty condenser coil that cannot release heat. Start by checking your air filter — a clogged filter can freeze the coil within hours and stop cooling entirely. If the filter looks clean and the system still blows warm air, you likely need a technician to diagnose the refrigerant charge or electrical components.
How do I know if my AC compressor needs to be repaired or replaced?
Signs of a failing AC compressor include loud clanking or rattling from the outdoor unit, the system blowing warm air despite running, the circuit breaker tripping repeatedly, and the outdoor unit not starting at all. Compressor repairs are expensive — typically $800 to $2,500 — so on a system older than 10 to 12 years, full replacement is often the smarter financial choice. A licensed technician can run an electrical and refrigerant pressure test to confirm the diagnosis before any parts are ordered.
Can I fix an AC refrigerant leak myself?
No — handling refrigerants without an EPA Section 608 certification is illegal under federal law, and DIY refrigerant kits sold at auto parts stores are not compatible with home HVAC systems. A certified technician must locate the leak, repair the source, and recharge the system with the correct refrigerant type and amount. Skipping the leak repair and just recharging the refrigerant is a short-term fix that will fail again within one season.
How long does an emergency AC repair usually take?
Most emergency AC repairs take between one and three hours from the time the technician arrives. Simple repairs like capacitor replacement or condensate drain clearing are often done in under an hour. More involved work — like a refrigerant leak repair, coil replacement, or blower motor swap — can take three to five hours depending on parts availability. If a part needs to be ordered, the initial visit typically covers diagnosis and a temporary assessment while the part is sourced.