AC Troubleshooting Before Calling a Technician: Fix Common Problems Yourself
Before you call for AC repair, a handful of simple checks can save you time and money. This guide walks you through the most common air conditioning problems homeowners can safely troubleshoot on their own.
Why Do AC Systems Fail Right When You Need Them Most?
AC systems most often break down during the first heat wave of the season — usually May through July in Southern California — because components that sat idle all winter are suddenly pushed to full capacity. Capacitors, contactors, and refrigerant lines that were borderline in fall often fail completely under summer demand.
Southern California’s climate adds extra stress. Inland communities regularly see temperatures climb above 95°F for stretches of 10 or more days, while coastal areas deal with salt-laden marine-layer air that corrodes condenser coils faster than dry inland climates. According to NOAA, Southern California summers have trended warmer over the past two decades, meaning aging systems face harder conditions each year.
Housing stock matters too. A large share of homes across Los Angeles and Orange County were built between 1955 and 1985, which means many central AC systems are 15 to 30 years old — well past the U.S. Department of Energy‘s recommended replacement window of 15 to 20 years. Older systems are more prone to sudden failure, especially at the start of a hot season.
Our technicians respond to roughly three times more emergency calls in July and August than in any other two-month window, and the majority of those calls involve units that had not been serviced since the previous summer.
What Are the Warning Signs Your AC Needs Attention?
Catching a problem early — before a full breakdown — can cut repair costs significantly and prevent a sweltering weekend without cooling. The following symptoms are the most common signals that something is wrong with your air conditioning system.
- Warm or lukewarm air from vents: The system runs but does not cool the air to the set temperature.
- Weak or uneven airflow: Some rooms get cool air while others feel stuffy, or airflow from all vents is noticeably weaker than normal.
- Unit won’t turn on: The thermostat is set correctly but the indoor or outdoor unit does not start.
- Short cycling: The system turns on and off every few minutes instead of running a full cooling cycle of 10 to 20 minutes.
- Ice on the indoor coil or refrigerant lines: Visible frost or ice buildup on the air handler or copper lines running to the outdoor unit.
- Water pooling near the indoor unit: Condensate is not draining properly and is overflowing the drain pan.
- Unusual noises: Grinding, squealing, banging, or rattling sounds during operation.
- Musty or burning smell from vents: Odors that were not present before, which can signal mold in the drain pan or an electrical issue.
AC Troubleshooting Before Calling a Technician: What Can You Check Yourself?
A homeowner can safely check six things in about 15 minutes that account for the majority of no-cool and weak-airflow service calls. Work through these steps in order before scheduling a repair visit.
Step 1: Check the Thermostat Settings
Confirm the thermostat is set to COOL, not FAN or HEAT. Set the target temperature at least 5°F below the current room temperature and wait three to five minutes for the system to respond. If the thermostat runs on batteries, replace them — a low battery can cause erratic behavior or a blank screen.
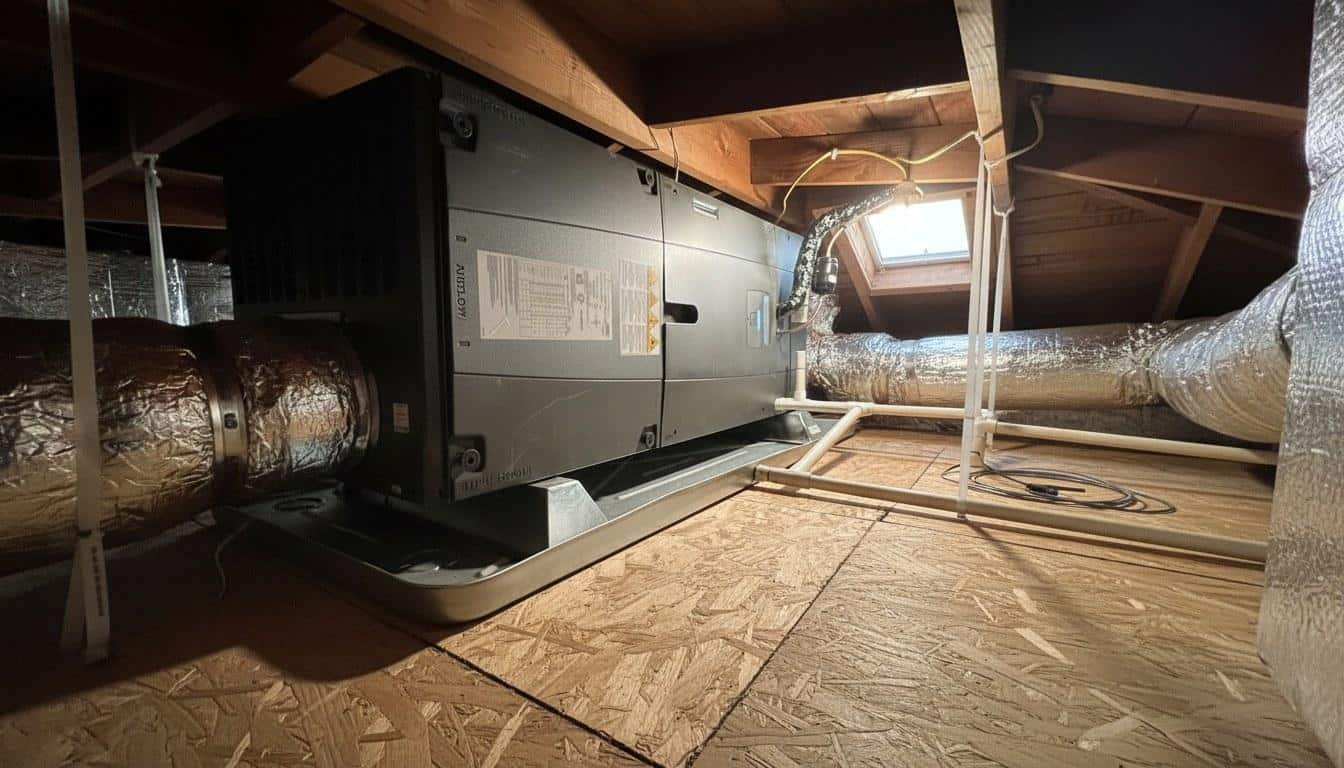
Step 2: Inspect the Air Filter
A clogged filter is the single most common cause of weak airflow and frozen coils. Locate the filter — usually at the return-air grille or inside the air handler — and hold it up to a light. If you cannot see light through it, replace it. Filters in Southern California homes should be replaced every 30 to 60 days during peak cooling season due to dust and wildfire particulate. ENERGY STAR recommends checking filters monthly during heavy-use periods.
A clogged filter is the single most common cause of weak airflow and frozen coils, and filters in Southern California homes should be replaced every 30 to 60 days during peak cooling season.
Step 3: Reset the Circuit Breaker
Go to your electrical panel and find the breaker labeled for the AC or air handler. If it is tripped — sitting between ON and OFF — switch it fully to OFF, wait 30 seconds, then flip it back to ON. Do not reset a breaker more than once. If it trips again immediately, stop and call a licensed technician, because a repeatedly tripping breaker signals a wiring or compressor problem that requires professional diagnosis.
Step 4: Clear the Condensate Drain Line
Locate the PVC drain line that exits the air handler, usually near the indoor unit. If the safety float switch has tripped due to a clog, the system will shut itself off to prevent water damage. Pour a cup of distilled white vinegar into the drain pan access point and wait 30 minutes to clear minor algae buildup. Many modern air handlers have a secondary drain pan with its own float switch — check that pan for standing water as well.
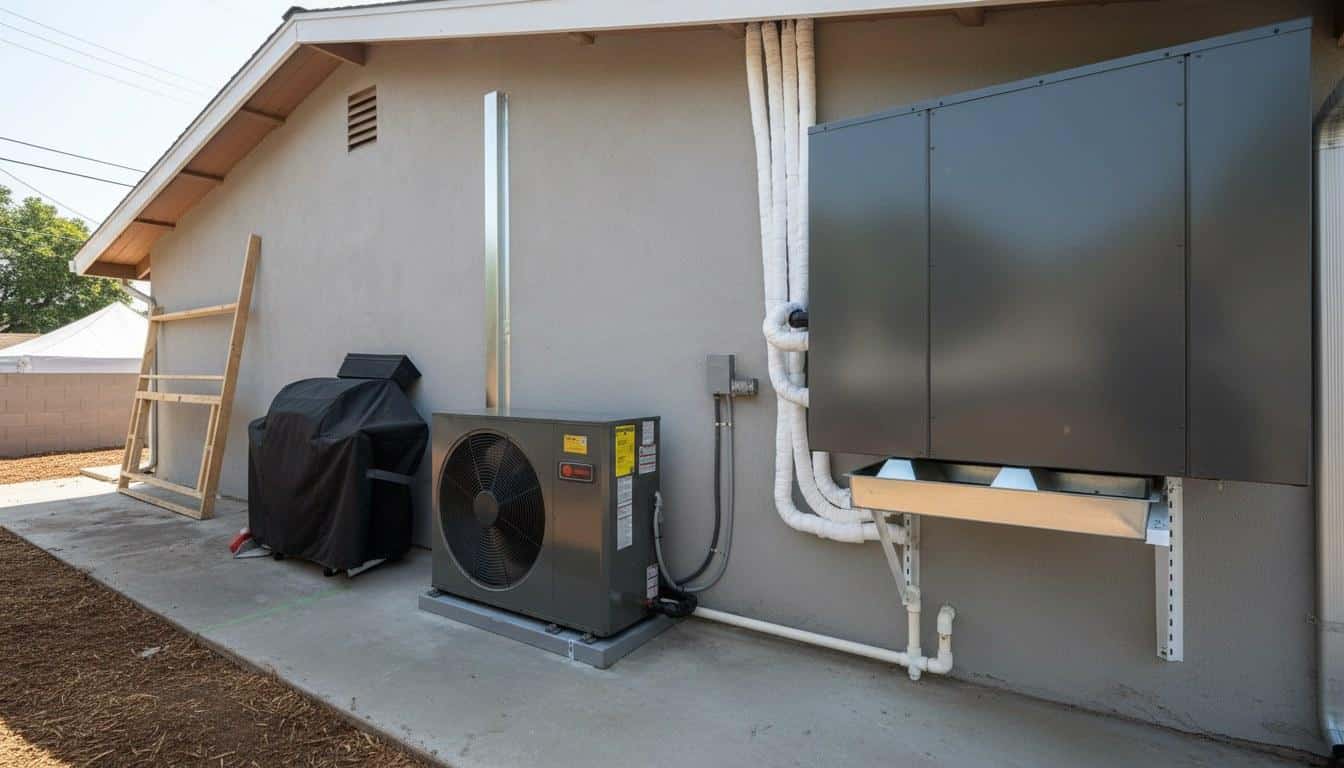
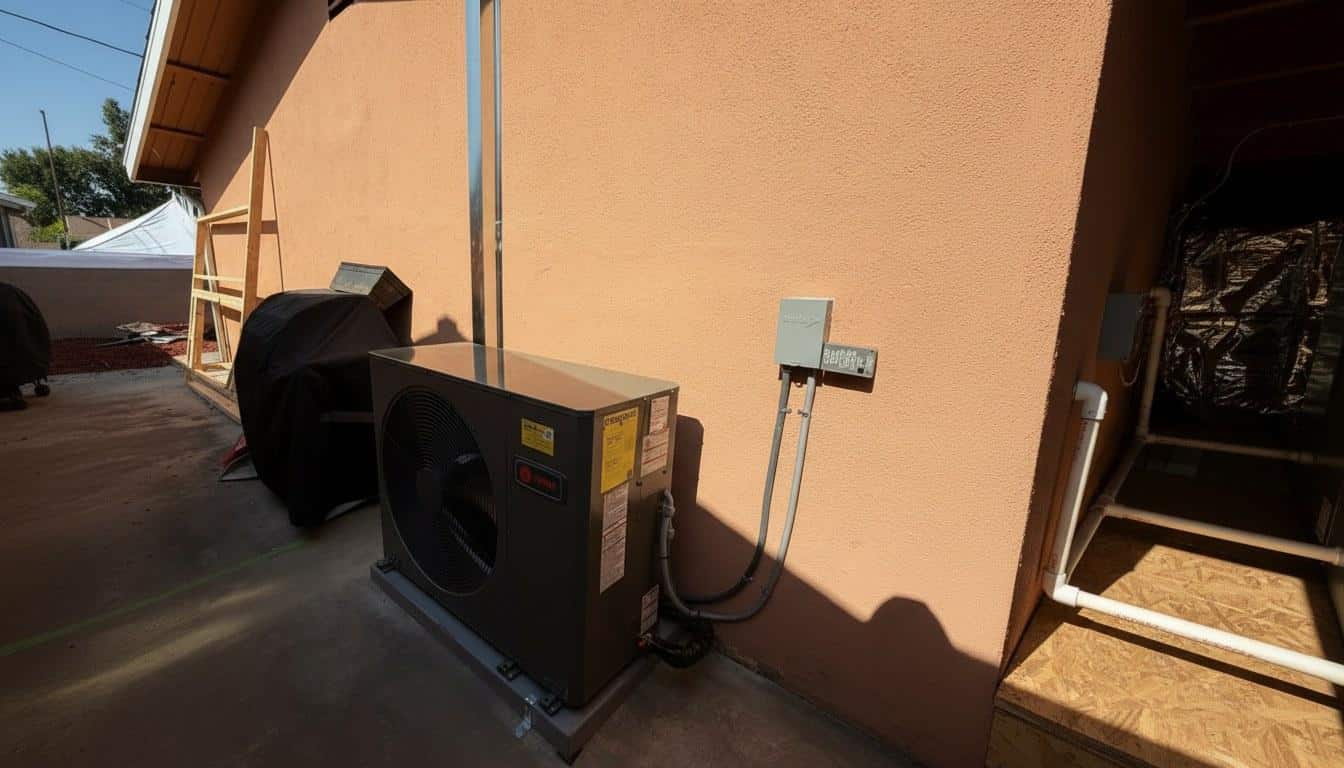
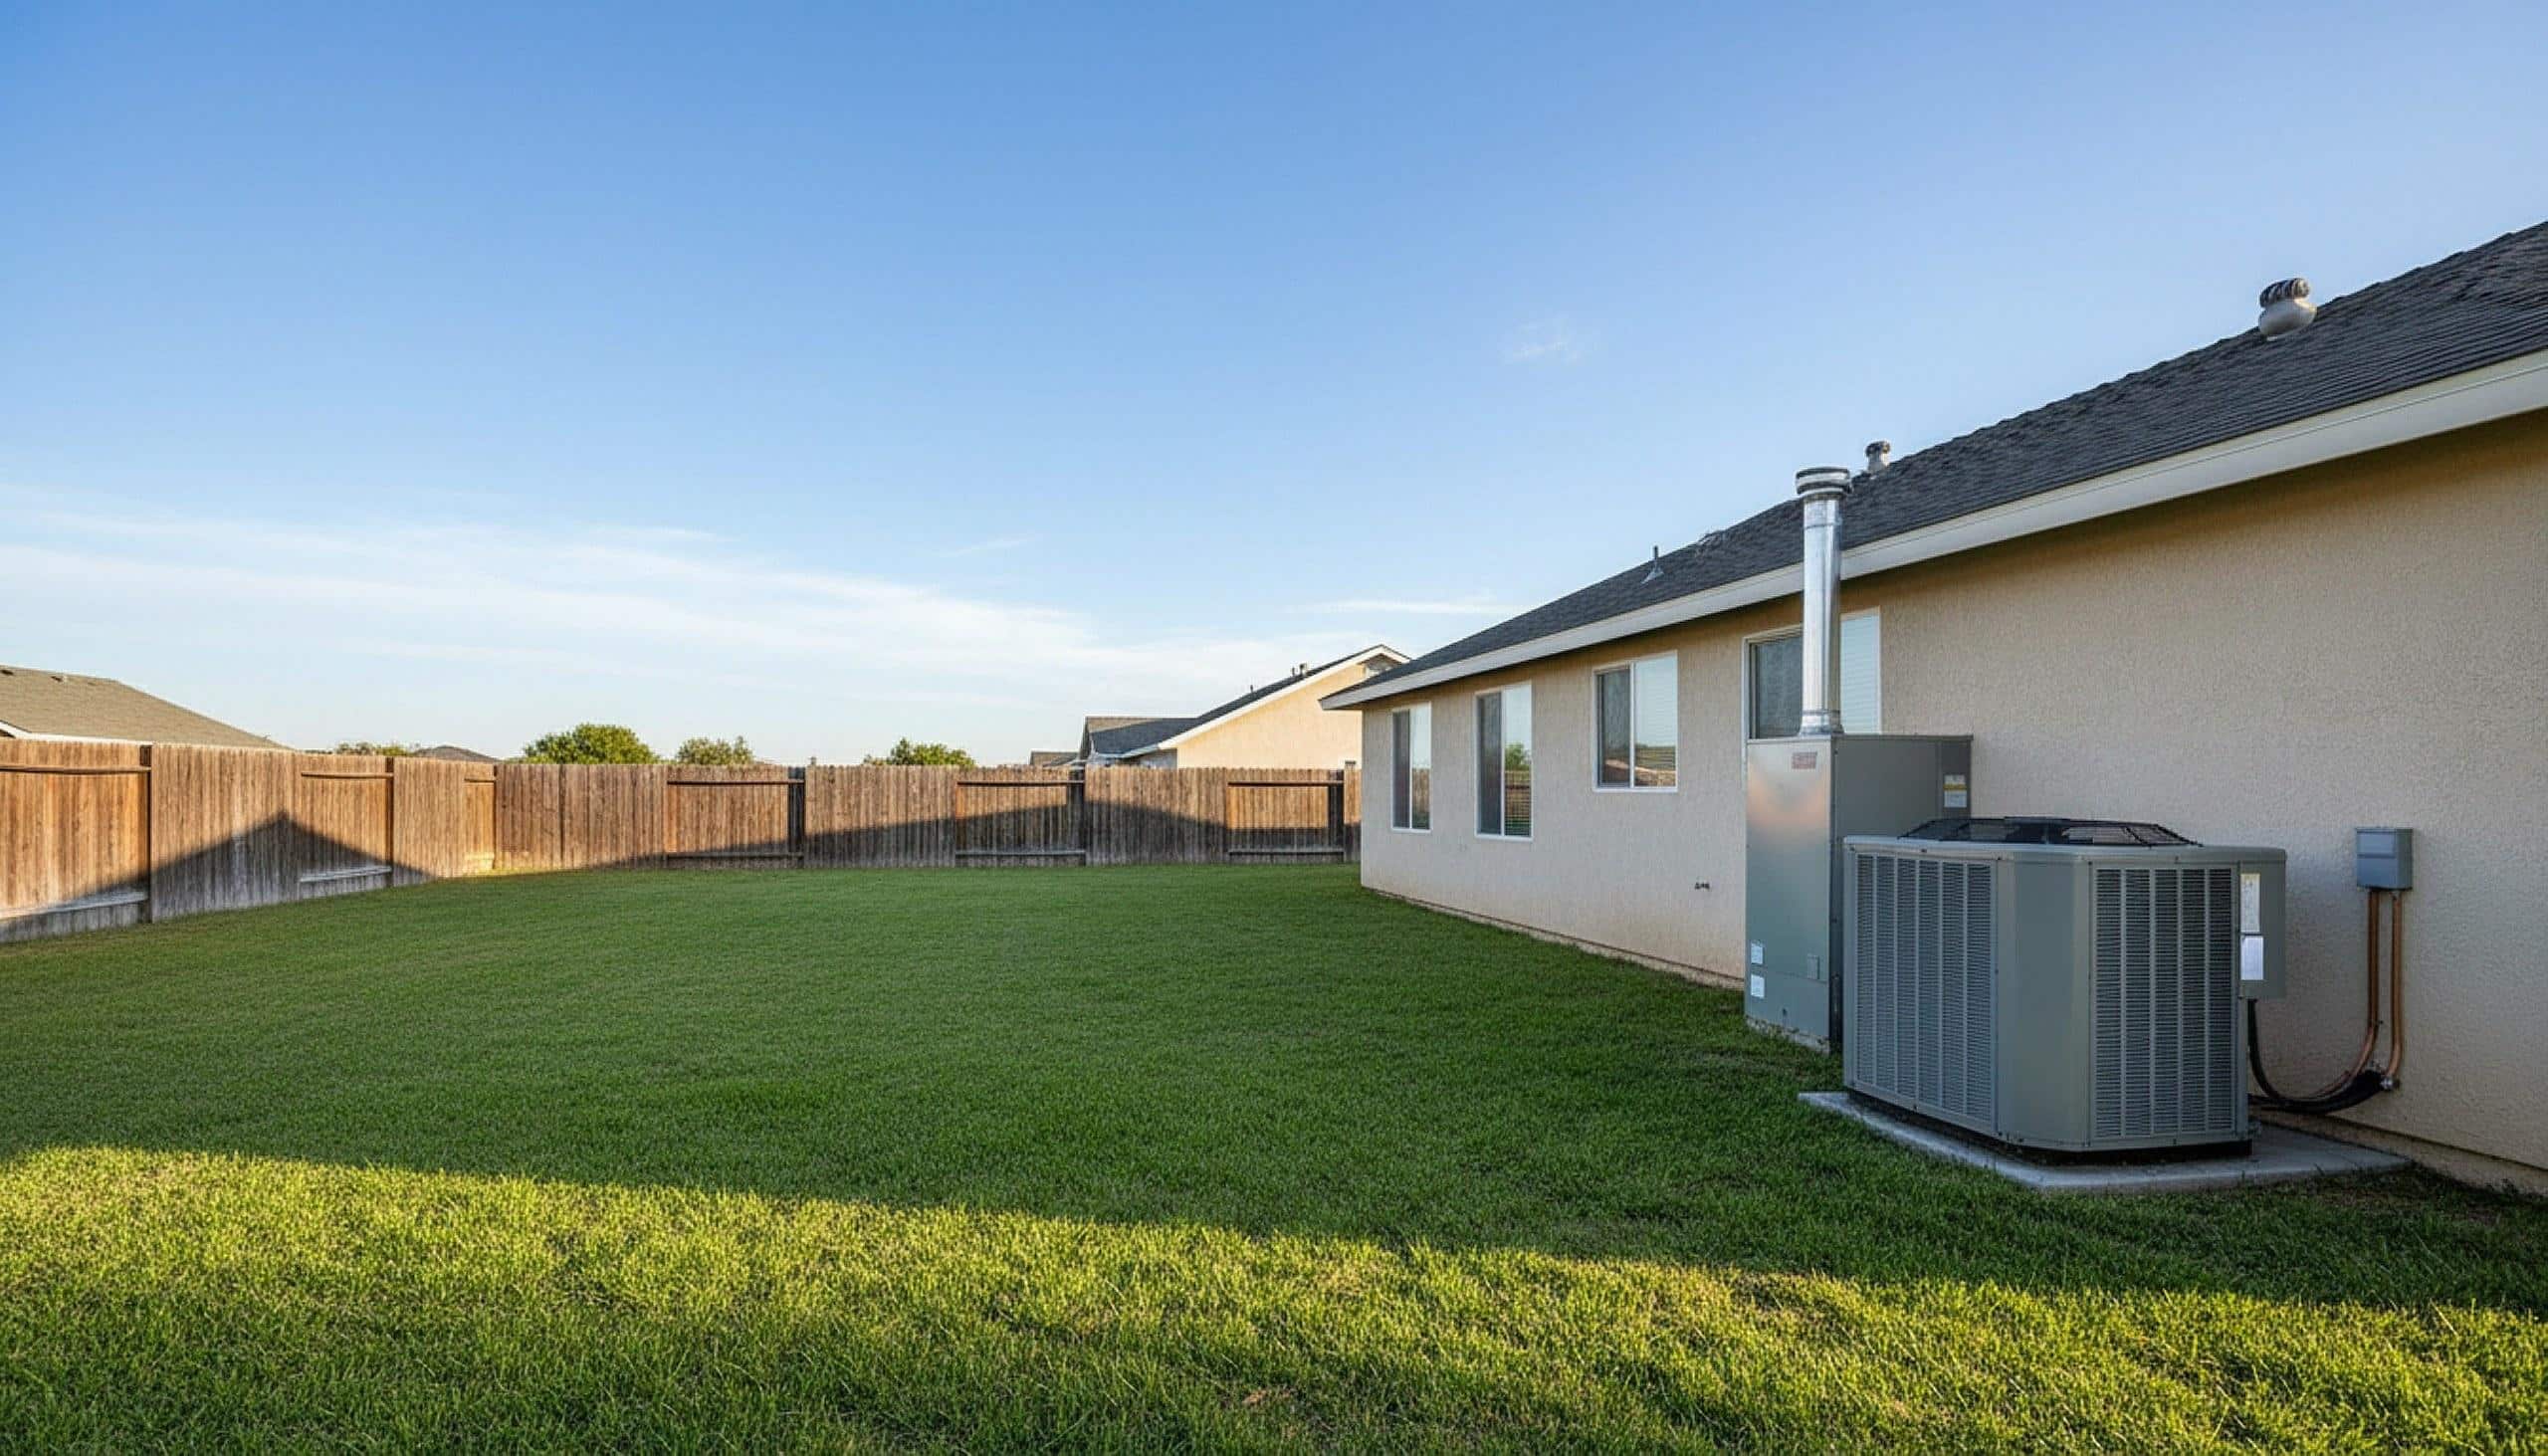
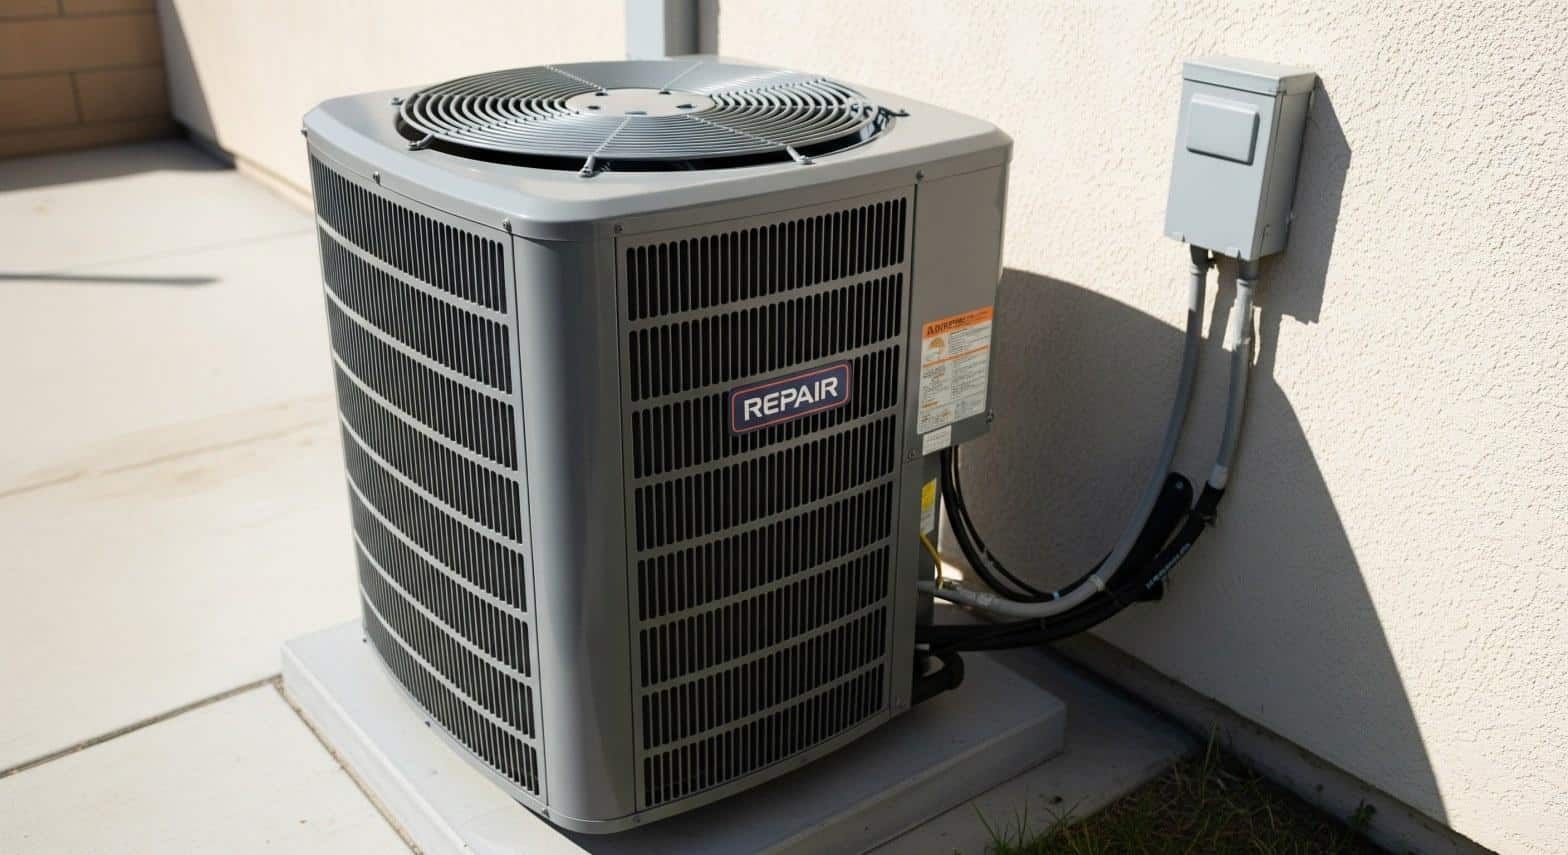
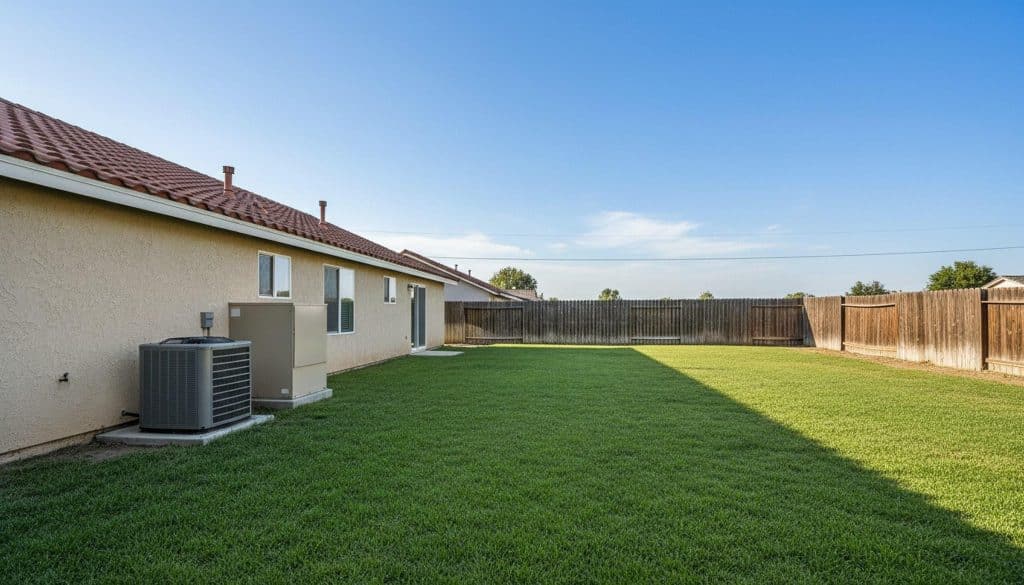
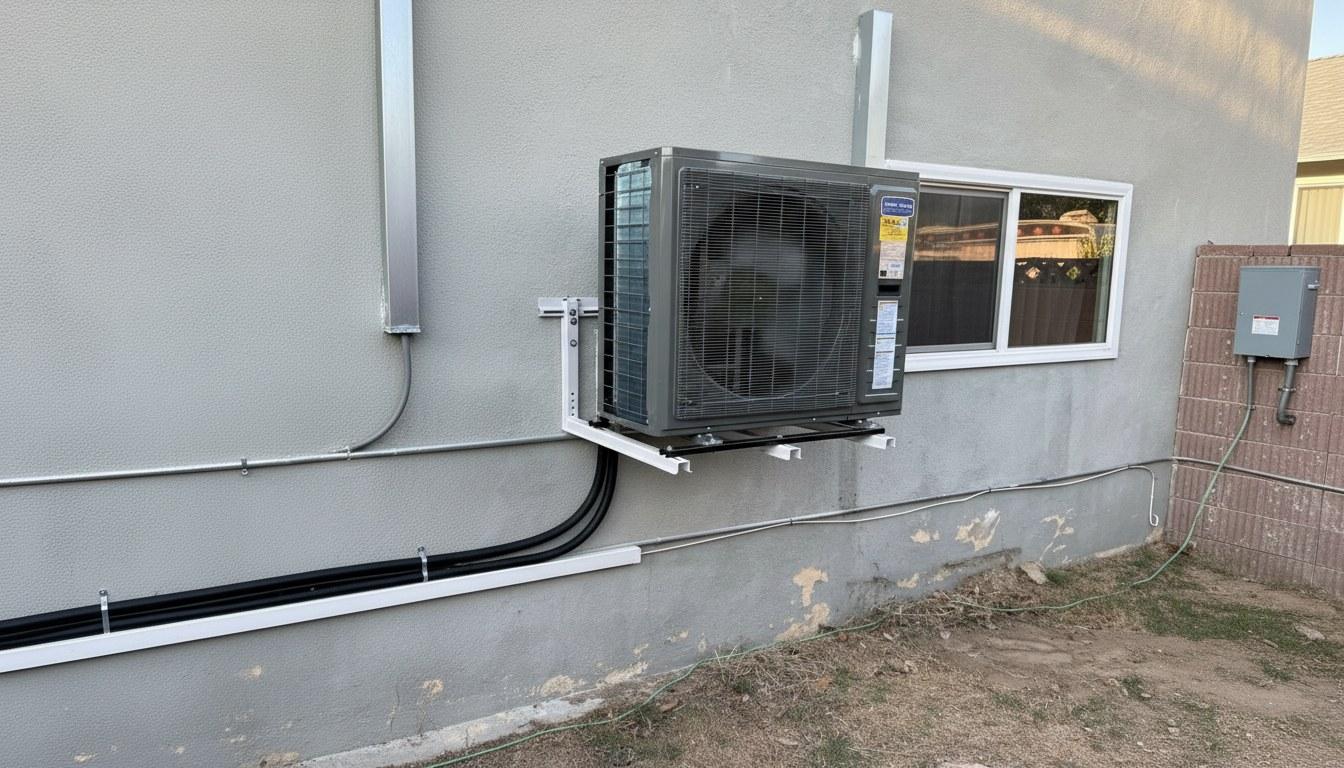
Step 5: Check the Outdoor Condenser Unit
Walk outside and look at the condenser. Confirm the disconnect switch near the unit is in the ON position. Clear any leaves, debris, or vegetation within 24 inches of all four sides — restricted airflow around the condenser causes the system to overheat and shut down. If the fan on top of the condenser is not spinning while the compressor hums, that is a strong indicator of a failed capacitor, which requires a professional to replace safely.
Step 6: Look for Ice on the System
If you see ice on the copper refrigerant lines or on the indoor coil, turn the system off immediately and set the fan to ON (not AUTO) to let the ice melt — this takes one to four hours depending on the amount of buildup. Ice is almost always caused by a dirty filter, blocked airflow, or low refrigerant. Once the ice melts, replace the filter and try the system again. If it ices up a second time, you likely have a refrigerant issue and need a certified technician.

Symptom, Likely Cause, and What to Do: A Quick Reference
This table maps the most common AC symptoms to their likely causes and tells you whether a homeowner can address it or whether a licensed pro is needed. Use it alongside the step-by-step checks above.
| Symptom | Likely Cause | DIY or Pro? |
|---|---|---|
| Warm air from vents, system running | Dirty filter, low refrigerant, or failed compressor | DIY: replace filter. Pro: refrigerant or compressor |
| Unit won’t turn on | Tripped breaker, dead thermostat batteries, or failed capacitor | DIY: reset breaker, replace batteries. Pro: capacitor or wiring |
| Weak airflow throughout home | Clogged filter, blocked vents, or failing blower motor | DIY: replace filter, open vents. Pro: blower motor |
| Ice on refrigerant lines or coil | Restricted airflow or low refrigerant charge | DIY: thaw and replace filter. Pro: refrigerant leak check |
| Water pooling at indoor unit | Clogged condensate drain | DIY: flush drain with vinegar. Pro: if float switch fails again |
| Short cycling (on/off every few minutes) | Oversized system, low refrigerant, or failing capacitor | Pro: requires diagnosis and possible refrigerant handling |
| Grinding or squealing noise | Worn blower motor bearings or failing compressor | Pro: turn off system immediately and call a tech |
| Burning smell from vents | Electrical fault in wiring or motor | Pro: turn off system immediately and call a tech |
| Musty smell from vents | Mold or algae in drain pan or ductwork | DIY: clean drain pan. Pro: duct cleaning if persistent |
| Condenser fan not spinning | Failed run capacitor | Pro: capacitor replacement requires electrical work |
When Should You Call a Professional?
Call a licensed HVAC technician when you smell burning, see ice that returns after thawing, hear grinding from the compressor, or when a circuit breaker trips more than once. These symptoms point to refrigerant handling, electrical work, or mechanical repairs that require specialized tools and certification.
Under EPA refrigerant regulations (Section 608), only certified technicians may purchase and handle refrigerants like R-410A or the newer R-454B. Attempting to add refrigerant yourself is illegal and can void your equipment warranty. If your system is low on refrigerant, a pro must also find and fix the leak — simply topping off a leaking system is not a code-compliant repair.
Under EPA refrigerant regulations (Section 608), only certified technicians may purchase and handle refrigerants like R-410A or the newer R-454B — attempting to add refrigerant yourself is illegal and can void your equipment warranty.
Electrical issues — including a failed capacitor, a bad contactor, or a wiring fault — involve components that can hold a dangerous charge even after the system is powered off. These are not safe for homeowners to repair without proper training and testing equipment.
You should also call a pro if your system is more than 15 years old and showing multiple symptoms. At that age, the cost of repeated repairs often approaches the cost of a new, more efficient system. As of 2024, California’s Title 24 building energy standards require newly installed central AC systems to meet a minimum SEER2 rating of 15.2 for split systems in most Southern California climate zones — a significant efficiency improvement over systems installed before 2015 that may carry SEER ratings as low as 10.
Make sure any contractor you hire is Licensed by the California Contractors State License Board (CSLB). You can verify a license at cslb.ca.gov before any work begins.
How Much Does AC Repair Typically Cost in Southern California?
In the Southern California regional market, most residential AC repairs fall between $150 and $1,500 depending on the component involved and the complexity of the work. Here is a breakdown of typical ranges by repair type.
In the Southern California regional market, most residential AC repairs fall between $150 and $1,500 depending on the component involved and the complexity of the work.
- Capacitor replacement: Generally $150 to $350. One of the most common repairs on systems older than 10 years.
- Contactor replacement: Typically $200 to $400, often done alongside a capacitor replacement.
- Refrigerant recharge (with leak repair): Commonly $400 to $1,200 depending on the refrigerant type, the amount needed, and the location of the leak. R-410A systems cost less per pound than transitional refrigerants; R-22 (found in pre-2010 systems) can run significantly higher due to phase-out scarcity.
- Blower motor replacement: Typically $400 to $800 including labor.
- Compressor replacement: Usually $1,200 to $2,500 or more. At this cost, a full system replacement is often the smarter long-term investment.
- Condensate drain clearing and float switch reset: Often $100 to $250 if a technician is needed.
- Thermostat replacement (smart thermostat): Typically $200 to $500 installed. Qualifying smart thermostats may be eligible for a SoCalREN or TECH Clean California rebate.
Several factors move repair costs up or down: the age and brand of the equipment, whether parts need to be ordered versus pulled from a truck, weekend or after-hours service rates, and whether the repair requires refrigerant handling under EPA Section 608 protocols. Homeowners who qualify may also offset new-system costs with the Inflation Reduction Act federal tax credit, which covers up to 30% of the cost of qualifying high-efficiency HVAC equipment through 2032.
For an accurate number on your specific system, request a written quote before any work begins. Call Shalom Heating & Air at (714) 886-2021 for a no-obligation assessment.
Get Your AC Running Again in your area
Work through the DIY checks in this guide first — a dirty filter or a tripped breaker accounts for a surprising share of no-cool calls across communities in Los Angeles and Orange County. If the problem persists after those checks, or if you are dealing with refrigerant, electrical, or compressor issues, it is time to bring in a certified technician.
Shalom Heating & Air serves homeowners across the region with honest diagnostics, upfront written quotes, and technicians who are Licensed by the California Contractors State License Board (CSLB). Whether you need a quick capacitor swap or a full system evaluation, the team is ready to help. Call (714) 886-2021 to schedule a same-day or next-day appointment before the next heat wave hits.
Explore our full range of HVAC services across Southern California.
Frequently Asked Questions
Why is my air conditioner running but not cooling the house?
The most common reasons are a clogged air filter blocking airflow, a refrigerant leak reducing the system's ability to absorb heat, or a failing compressor. Start by replacing the air filter and checking that all vents are open and unblocked. If the system still blows warm air after those checks, a licensed HVAC technician should inspect the refrigerant charge and compressor.
How do I know if my AC just needs a recharge or if the compressor is bad?
If the outdoor unit runs and the condenser fan spins but the air inside stays warm, low refrigerant is a likely cause. If the outdoor unit hums but nothing moves, or if you hear grinding or clicking, the compressor or capacitor may have failed. A technician can measure refrigerant pressure and compressor amperage to tell the difference — these checks require professional tools and EPA Section 608 certification for refrigerant handling.
How much does it usually cost to repair an AC unit in Southern California?
In the regional market, AC repairs typically range from about $150 for a capacitor replacement to $1,200 or more for refrigerant leak repair, and up to $2,500 for a compressor replacement. The exact cost depends on the failed component, the refrigerant type the system uses, and whether after-hours service is needed. Getting a written quote before work begins is always the right move — call Shalom Heating & Air at (714) 886-2021 for an honest assessment.
Can I add refrigerant to my AC myself to fix the warm-air problem?
No. Under EPA refrigerant regulations (Section 608), only certified technicians are legally allowed to purchase and handle refrigerants like R-410A. Attempting to add refrigerant yourself can also void your equipment warranty and will not fix an underlying leak. A certified technician must find and repair the leak before recharging the system.
How often should I change my AC filter in Southern California?
During peak cooling season — roughly May through October in Southern California — most homes should replace the filter every 30 to 60 days. Homes near wildfire-prone areas, busy roads, or with pets may need monthly changes. ENERGY STAR recommends checking the filter monthly during heavy-use periods. A clogged filter is the leading cause of weak airflow and frozen coils, and it is the easiest fix a homeowner can do before calling for service.