Ductless Mini-Split Maintenance: What to Do Every Season to Keep It Running Efficiently
A ductless mini-split can last 15 to 20 years, but only if you stay on top of maintenance every season. This guide breaks down exactly what to clean, check, and schedule so your system keeps running efficiently.
Why Does Ductless Mini-Split Maintenance Matter So Much?
A well-maintained ductless mini-split can last 15 to 20 years and hold its efficiency rating throughout that span. A neglected one can lose up to 25 percent of its efficiency in just a few seasons, according to U.S. Department of Energy guidance on HVAC performance. That efficiency loss shows up directly on your monthly utility bill.
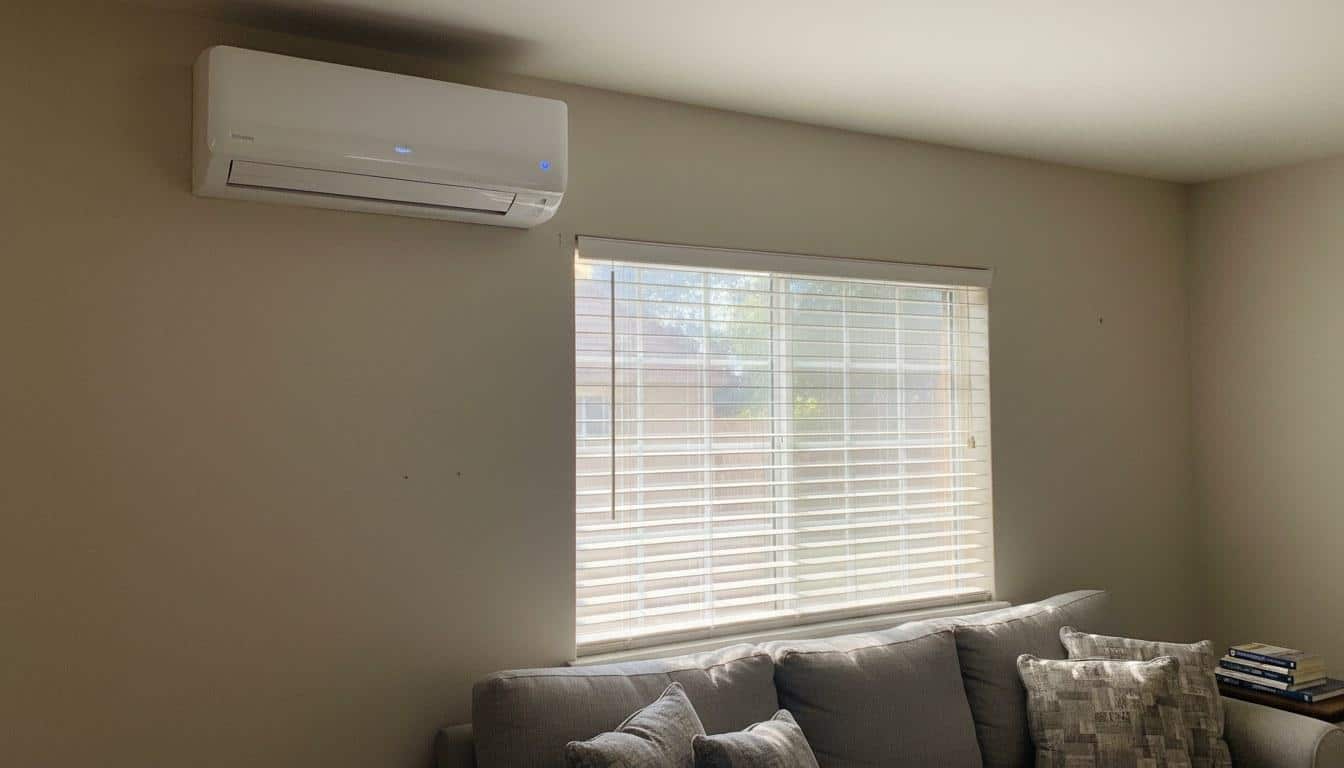
Mini-splits work differently from central air systems. There is no ductwork to leak conditioned air, but there are multiple indoor air handlers, each with its own filter, coil, and blower wheel. Each of those components needs attention on a regular schedule.
California’s climate adds another layer of urgency. Summer heat routinely pushes indoor units to run for 10 to 14 hours a day across Southern California. That kind of runtime loads up filters fast and stresses the refrigerant circuit. Staying current on ductless mini-split maintenance is the most cost-effective thing you can do to protect that investment.
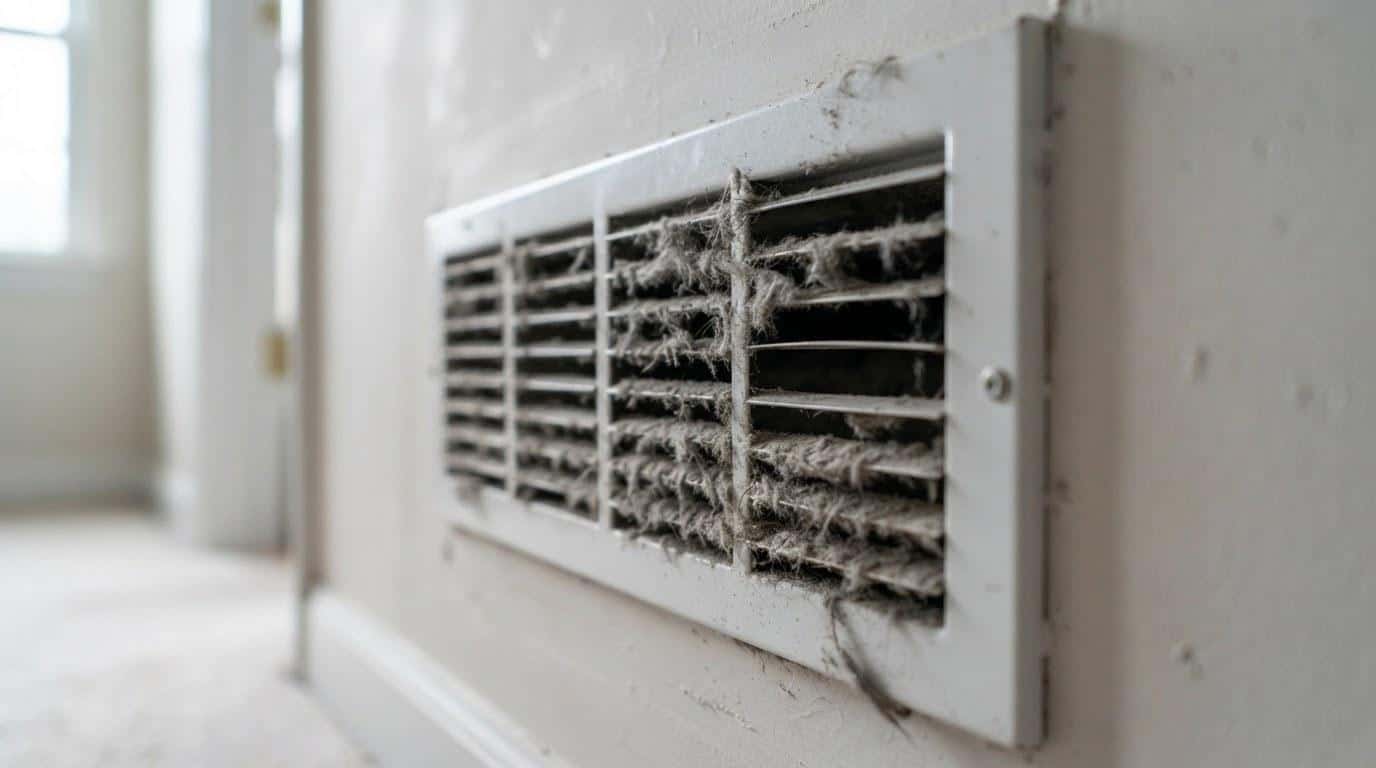
Our technicians see filter panels on indoor heads clogged to near-total blockage in as little as 6 weeks during peak cooling season, almost always in homes with pets or dusty interiors. That level of restriction can raise the system’s amp draw by 15 to 20 percent and trigger high-pressure lockout faults.
What Should You Do Each Season?
Each season brings a different demand on your mini-split, so the maintenance tasks shift with the calendar. Fall is especially important in California because you are switching the system from cooling to heating mode, and that transition is the right moment to catch anything that wore down over summer.
Fall (September through November)
- Clean all indoor filter panels: Remove, rinse under lukewarm water, and let dry fully before reinstalling. This is the most important step before heating season begins.
- Wipe down the indoor air handler housing: Dust and mold spores accumulate over summer. A damp microfiber cloth is enough.
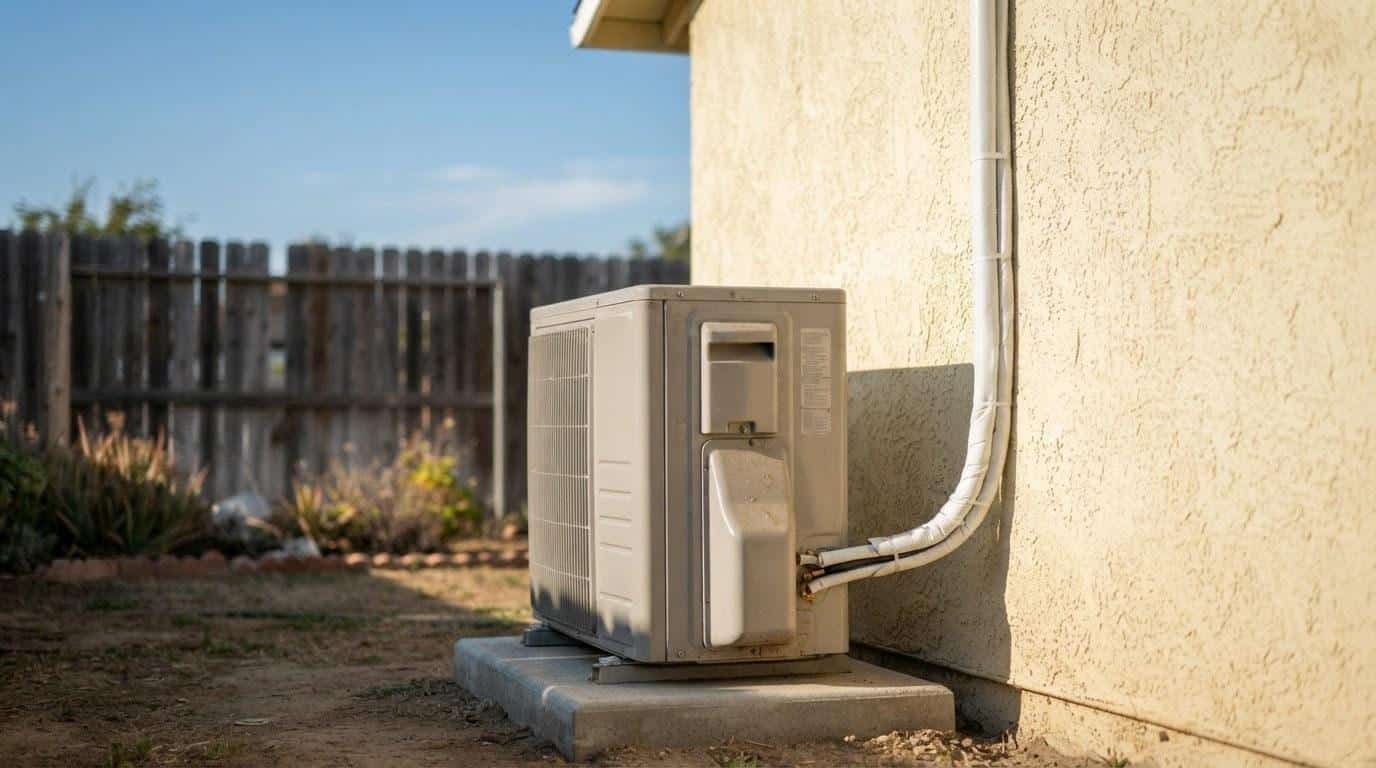
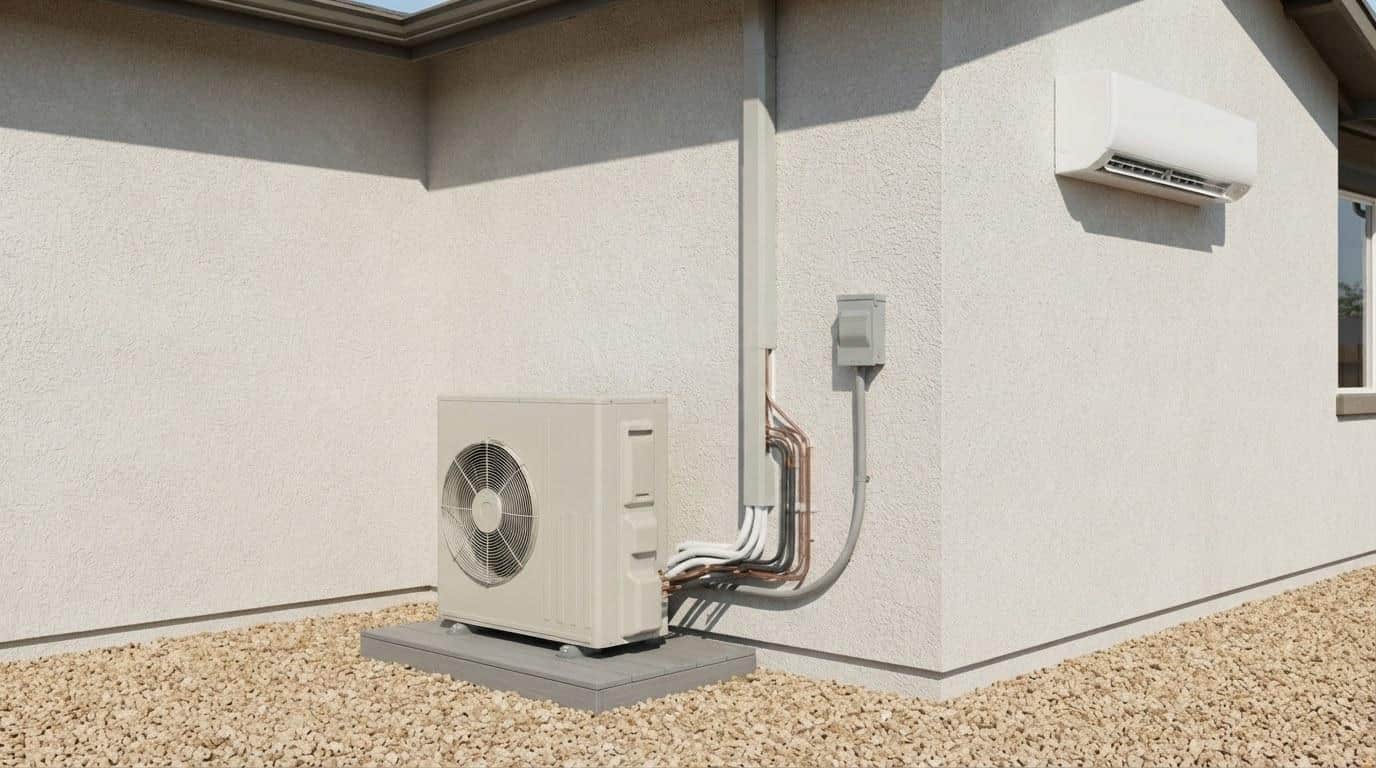
- Check the outdoor condenser unit: Clear any leaves, debris, or overgrown vegetation. Keep at least 18 inches of clearance on all sides.
- Test heating mode: Run the system in heat mode for 10 to 15 minutes and verify warm air comes from every indoor head.
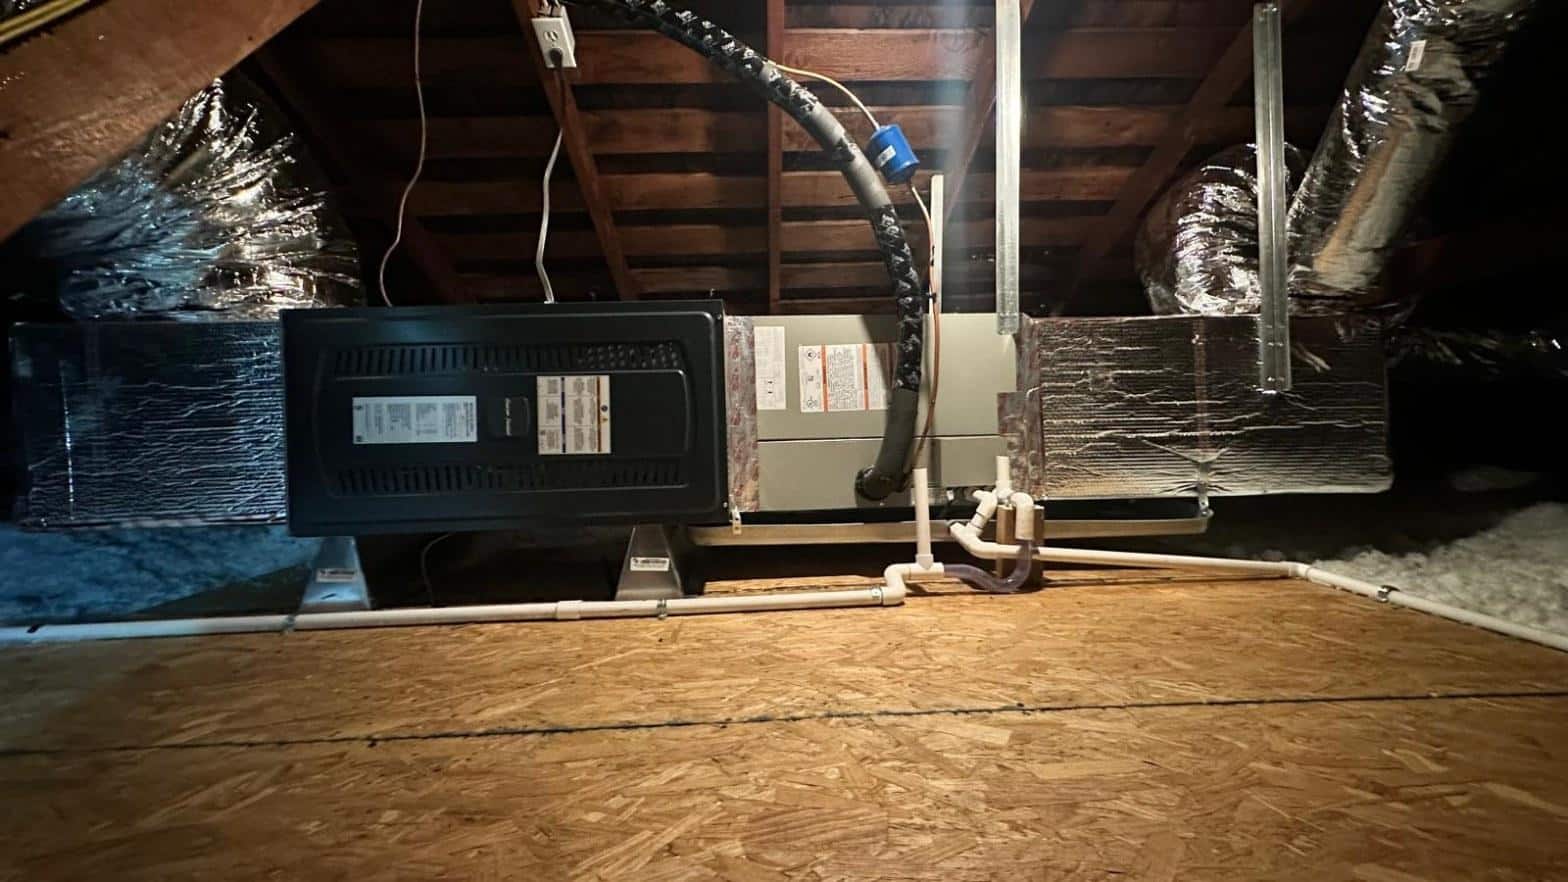
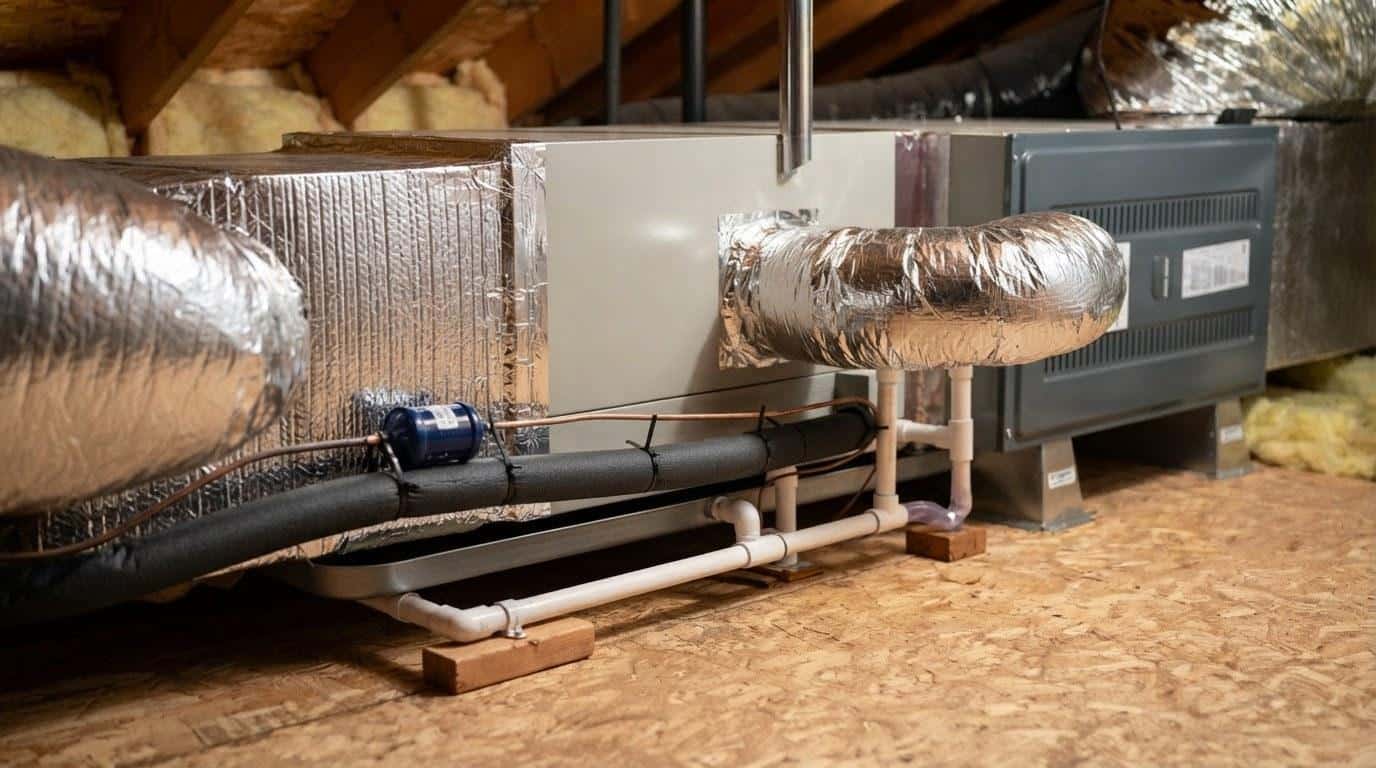
- Inspect the condensate drain line: Flush it with a cup of diluted white vinegar to prevent algae buildup that can cause water to back up into the air handler.
- Schedule your annual professional tune-up: Fall is the ideal time, before heating loads peak in December and January.
Winter (December through February)
- Check filters every 3 to 4 weeks: Heating mode circulates dust just as cooling does. Do not skip filter checks in winter.
- Inspect the outdoor unit after rain or wind events: Remove any debris that has collected around the base or on top of the unit.
- Monitor for unusual sounds: A rattling or grinding noise in heating mode often points to a loose panel or a failing fan motor bearing.
- Verify thermostat or remote settings: Confirm the system is set to heat mode, not auto-cool, to avoid short-cycling.
Spring (March through May)
- Deep-clean the indoor air handler blower wheel: Use a soft brush or a coil-safe cleaner spray. A dirty blower wheel can reduce airflow by 30 percent or more.
- Rinse the outdoor condenser coil: Use a garden hose on a gentle setting, spraying from the inside out if access allows. Never use a pressure washer.
- Check refrigerant line insulation: UV exposure degrades the foam insulation on the line set over time. Cracked insulation causes energy loss and condensation problems.
- Test cooling mode: Run the system in cooling mode and verify that each indoor head produces cold air within 5 minutes of startup.
Summer (June through August)
- Clean filters every 2 weeks during peak use: High runtime during California summers loads filters faster than any other season.
- Keep the outdoor unit shaded if possible: Direct afternoon sun on the condenser raises the ambient temperature around the unit and reduces efficiency. A shade structure that does not restrict airflow helps.
- Watch for ice on the indoor coil: Ice forming on the evaporator coil almost always means a clogged filter or low refrigerant. Turn the system off and call a pro.
- Check condensate drainage weekly: Humidity is lower in Southern California than in humid climates, but long daily runtimes still produce significant condensate.
What Does a Full Maintenance Task List Look Like?
The table below organizes every key ductless mini-split maintenance task by frequency and tells you whether it is a DIY job or one that requires a licensed technician. Use it as a quick reference throughout the year.
| Task | Frequency | DIY or Pro? |
|---|---|---|
| Clean indoor filter panels | Every 2 to 4 weeks during active use | DIY |
| Wipe down indoor air handler housing | Monthly | DIY |
| Flush condensate drain line | Every 3 months | DIY |
| Clear debris from outdoor condenser unit | Monthly and after storms | DIY |
| Rinse outdoor condenser coil | Once per season (spring) | DIY (gentle hose only) |
| Inspect refrigerant line insulation | Annually | DIY (visual); Pro for repairs |
| Deep-clean blower wheel and evaporator coil | Annually | Pro |
| Check refrigerant charge and pressures | Annually | Pro (EPA Section 608 certification required) |
| Inspect electrical connections and capacitors | Annually | Pro |
| Verify SEER2 performance and system operation | Annually | Pro |
Note that refrigerant work requires a technician holding an EPA Section 608 certification. Handling refrigerant without that credential is a federal violation. Never attempt to add or recover refrigerant yourself.
Refrigerant work requires a technician holding an EPA Section 608 certification; handling refrigerant without that credential is a federal violation.
What Does an Annual Professional Service Include?
A professional mini-split tune-up typically takes 60 to 90 minutes per indoor head and covers a thorough inspection of both the indoor and outdoor components. For a two-zone system, plan on 2 to 3 hours total.
A qualified technician licensed by the California Contractors State License Board (CSLB) will perform the following during an annual visit:
- Refrigerant pressure check: Verifies the system is operating within the manufacturer’s specified range. Low refrigerant is the leading cause of compressor failure in mini-splits older than 7 years.
- Evaporator and condenser coil cleaning: Uses a coil-safe foaming cleaner to remove biofilm, dust, and oxidation that a garden hose cannot reach.
- Blower wheel deep-clean: Removes the accumulated greasy dust that builds up on the fan blades and restricts airflow even when the filter looks clean.
- Electrical inspection: Checks all wiring connections, capacitors, and contactors for signs of corrosion, heat damage, or loose terminals.
- Condensate system check: Verifies the drain pan, drain line, and condensate pump (if present) are clear and functioning.
- Thermostat and remote calibration: Confirms the sensor reads accurately and the system responds correctly to setpoint changes.
- Airflow measurement: Uses a flow meter or anemometer to verify each indoor head is delivering the rated CFM. A reading more than 15 percent below spec signals a problem.
- Safety control test: Cycles the high-pressure and low-pressure cutouts to confirm they trip at the correct values.
In the regional Southern California market, professional mini-split tune-up services typically range from $100 to $200 per zone, depending on the number of indoor heads, system age, and the degree of cleaning required. Multi-zone systems often qualify for a lower per-zone rate. For an accurate quote on your specific system, contact Shalom Heating & Air at (714) 886-2021.
If your system is still within its original manufacturer warranty period, keeping records of annual professional service is often a warranty requirement. Check your documentation before skipping a year.
What Warning Signs Should You Watch for Between Services?
Most mini-split problems give you warning before they become expensive repairs. Catching these signs early can mean the difference between a $150 service call and a $1,200 compressor repair.
Across our service calls in Southern California, we see roughly 40 percent of mini-split repair calls trace back to a maintenance step that was skipped for one or more seasons, most often a clogged filter or a blocked condensate drain.
- Weak or reduced airflow: The indoor head runs but barely moves air. Almost always a clogged filter or a dirty blower wheel.
- Warm air in cooling mode: If the system is set to cool but blows room-temperature or warm air, the refrigerant charge may be low or the outdoor coil may be blocked.
- Ice on the indoor unit: Frost or ice on the evaporator coil means airflow is severely restricted or refrigerant pressure is too low. Turn the system off immediately and call a technician.
- Water dripping from the indoor head: The condensate drain is blocked. Left unresolved, this can damage walls, ceilings, and the air handler’s electrical board.
- Unusual noises: Rattling usually means a loose panel or debris in the fan. Grinding or squealing points to a failing motor bearing. Clicking at startup that does not stop within 30 seconds suggests a control board issue.
- Musty or moldy odor: Mold growing on the evaporator coil or inside the blower housing. This requires a professional coil cleaning, not just a filter rinse.
- Error codes on the display: Most mini-split brands display fault codes when a sensor or component fails. Write down the code before calling a technician so they can arrive with the right parts.
- Sharply higher energy bills: A system losing efficiency due to dirty coils or low refrigerant will draw more power to maintain setpoint. A sudden 15 to 20 percent spike in your electricity bill during normal weather is a red flag.
Mini-splits that meet current ENERGY STAR efficiency ratings are designed to hold their SEER2 performance for the full rated lifespan, but only with consistent maintenance. Ignoring warning signs accelerates wear on the compressor, which is the most expensive component in the system.
Schedule Your Mini-Split Maintenance Today
Consistent ductless mini-split maintenance is not complicated, but it does require a real schedule. Clean your filters every 2 to 4 weeks during active use, flush the condensate drain every 3 months, and book a professional tune-up once a year, ideally in fall before heating season begins.
Shalom Heating & Air serves homeowners across Southern California with licensed, insured mini-split maintenance and repair. Whether your system needs a seasonal tune-up, a coil cleaning, or a refrigerant check, our team is ready to help. Call (714) 886-2021 to request a custom quote and get your system on a maintenance schedule before the next season arrives.
Explore our full range of HVAC services across Southern California.
Frequently Asked Questions
How often should I clean my ductless mini-split filters?
You should clean the filters on your ductless mini-split every 2 to 4 weeks during periods of heavy use, such as summer cooling season or winter heating season. In homes with pets or high dust levels, every 2 weeks is safer. Rinse the filter panels under lukewarm water, let them dry completely, and reinstall. A clogged filter is the single most common cause of reduced efficiency and system faults.
How much does it usually cost to install a ductless mini-split in Southern California?
In the Southern California regional market, a single-zone ductless mini-split installation typically ranges from $2,500 to $5,000, depending on the brand, SEER2 rating, and installation complexity. Multi-zone systems with two to four indoor heads generally range from $5,000 to $12,000 or more. Factors that raise the cost include long line-set runs, electrical panel upgrades, and difficult mounting locations. Contact Shalom Heating & Air at (714) 886-2021 for a custom quote.
How do I know if my ductless mini-split needs refrigerant?
The clearest signs of low refrigerant in a mini-split are warm air blowing in cooling mode, ice forming on the indoor evaporator coil, and a noticeable drop in the system's ability to reach setpoint even after running for 20 to 30 minutes. You may also see an error code on the display. Refrigerant work requires a technician with an EPA Section 608 certification, so do not attempt to add refrigerant yourself. Call a licensed HVAC contractor to diagnose and repair the leak before recharging.
How is a ductless mini-split actually installed?
A ductless mini-split installation involves mounting the indoor air handler on the wall, installing the outdoor condenser unit on a pad or bracket, drilling a 3-inch hole through the exterior wall to run the refrigerant line set and electrical wiring, and connecting both units. The system is then evacuated with a vacuum pump to remove moisture and air from the line set before refrigerant is charged to the manufacturer's specification. A typical single-zone installation takes 4 to 8 hours. Multi-zone systems with multiple indoor heads take longer depending on the number of zones.
Can I do ductless mini-split maintenance myself, or do I need a professional?
Homeowners can handle several maintenance tasks themselves: cleaning filter panels, wiping down the indoor housing, flushing the condensate drain, and clearing debris from the outdoor unit. However, tasks involving refrigerant, electrical components, deep coil cleaning, and airflow measurement require a licensed professional. Plan to do the DIY tasks monthly and schedule a professional tune-up once a year to keep the system running at its rated efficiency and to protect any manufacturer warranty.