AC Refrigerant Leaks: Signs, Causes, and Repair — A Complete Guide
An AC refrigerant leak causes warm air, high bills, and eventual compressor failure. This guide covers every sign, cause, and repair option so you know exactly what to do.
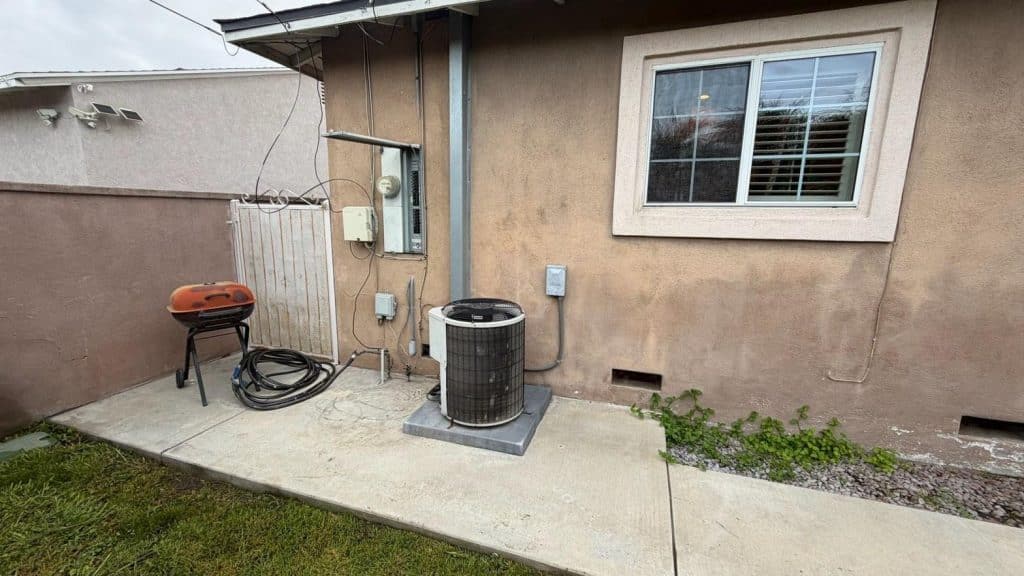
This ac refrigerant leak guide covers everything a California homeowner needs to know: why leaks happen, how to spot them early, what a repair involves, and what it typically costs. Catching a leak fast prevents compressor damage, which is the most expensive fix in any HVAC system.
Why Do AC Systems Develop Refrigerant Leaks?
Most refrigerant leaks start at weak points in the copper tubing or at brazed joints that have been stressed by years of vibration and pressure cycling. California’s long cooling seasons mean systems run thousands of hours per year, accelerating wear on every component.
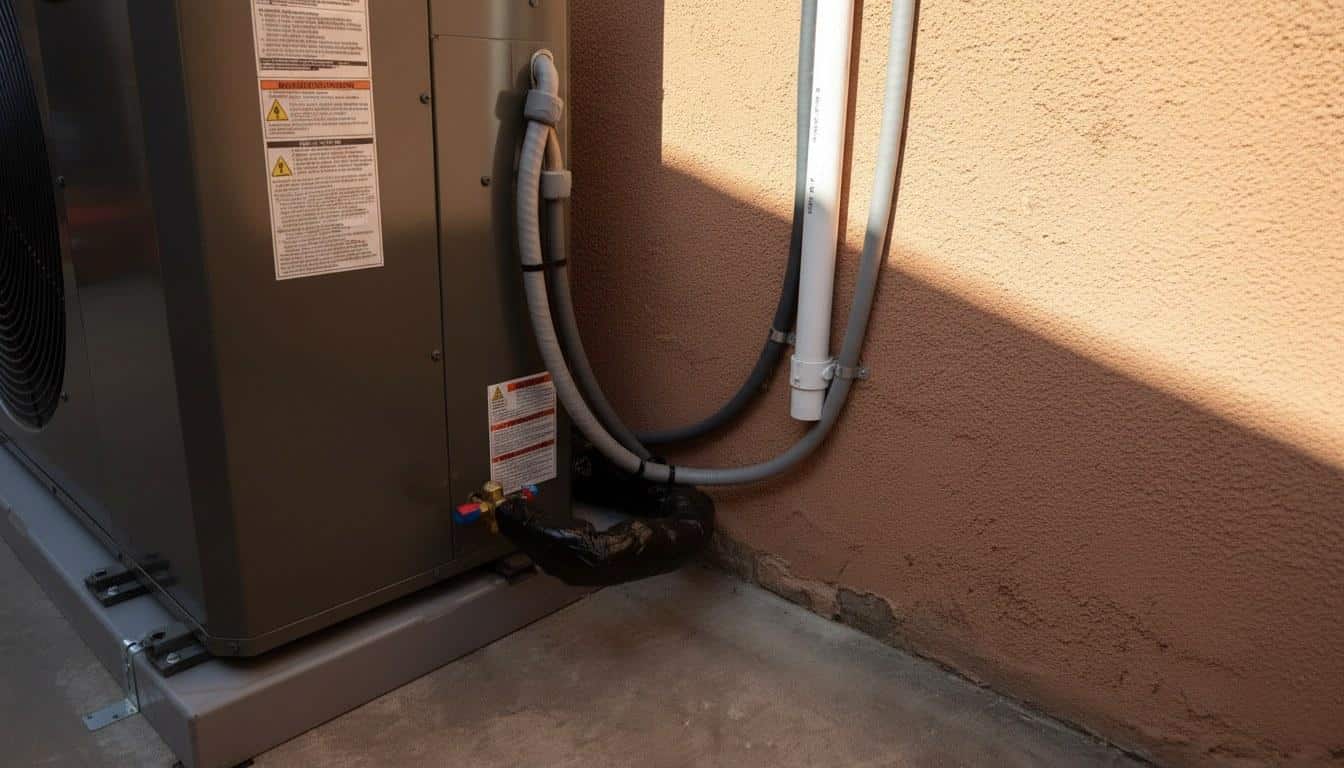
Several conditions drive leaks in the region’s housing stock:
- Formicary corrosion: Tiny pinholes form in copper evaporator coils when formic acid — produced by common household cleaners and off-gassing building materials — reacts with moisture and copper. This is one of the most common causes on systems installed in the 2000s.
- Vibration fatigue: Refrigerant lines that are not properly secured rub against brackets or the cabinet wall over time, wearing through the copper wall.
- Factory defects: A small percentage of coils and line sets leave the factory with micro-cracks that don’t show up until the system is under full load for a season or two.
- Age-related joint failure: Brazed connections between the copper line set and the coil can develop hairline cracks after 10 to 15 years of thermal expansion and contraction.
- Physical damage: Landscaping work, renovations, or accidental contact with the outdoor condenser or line set can crimp or puncture refrigerant tubing.
- Schrader valve wear: The service ports used during maintenance can develop slow seeps if the valve core degrades or is not reseated correctly after a service call.
Systems charged with R-22 (phased out under EPA refrigerant regulations (Section 608) as of January 2020) are especially prone to leaks because the rubber seals and O-rings in older systems shrink and harden over time. R-410A systems are more modern but are not immune to the corrosion and vibration issues listed above.
What Are the Warning Signs Your AC Has a Refrigerant Leak?
The clearest early sign of a refrigerant leak is warm or lukewarm air blowing from the vents even when the thermostat is set low. Because refrigerant is the medium that absorbs heat from your indoor air, even a small loss drops the system’s cooling capacity noticeably.
Watch for these specific symptoms:
- Warm air from vents: The system runs but the air never gets cold, or takes much longer than usual to cool the space.
- Ice on the evaporator coil or refrigerant lines: Low refrigerant pressure causes the coil temperature to drop below freezing, turning condensation into ice. You may see frost on the copper lines near the air handler.
- Hissing or bubbling sounds: A hiss near the indoor or outdoor unit often indicates refrigerant gas escaping under pressure. A bubbling sound suggests liquid refrigerant mixing with air at the leak point.
- Higher electricity bills: A low-charge system runs longer cycles trying to reach the set temperature, driving up energy consumption noticeably — sometimes 10 to 20 percent above your normal baseline.
- Humidity stays high indoors: Refrigerant is also responsible for pulling moisture out of the air. A leaking system dehumidifies less effectively, leaving rooms feeling sticky even when the AC is running.
- Short cycling: The system turns on and off rapidly without completing a full cooling cycle, which can indicate the low-pressure safety switch is tripping due to insufficient refrigerant.
- Oily residue near the line set or coil: Refrigerant oil travels with the refrigerant. A visible oily film or discoloration on copper lines or fittings is a reliable physical indicator of a leak nearby.
Symptom, Likely Cause, and Action: A Quick-Reference Table
Use this table to match what you’re observing to the most likely cause and whether it’s safe to handle yourself or requires a licensed technician.
| Symptom | Likely Cause | DIY or Pro? |
|---|---|---|
| Warm air from vents, system running normally | Low refrigerant charge from a slow leak | Pro — refrigerant handling requires EPA 608 certification |
| Ice on evaporator coil or copper lines | Low refrigerant pressure causing coil freeze-up | Pro — turn system off first, then call; do not chip ice |
| Hissing near indoor or outdoor unit | Refrigerant escaping at a joint, valve, or pinhole | Pro — locate and repair leak before recharging |
| Oily film on copper lines or coil fins | Refrigerant oil seeping from a crack or loose fitting | Pro — indicates active leak; needs pressure test |
| Electricity bill 10–20% higher than normal | Extended run times due to low cooling capacity | Check filter first (DIY); if filter is clean, call Pro |
| Indoor humidity stays above 55% with AC running | Reduced dehumidification from low refrigerant | Pro — confirm with a pressure reading |
| System short-cycling (on/off every few minutes) | Low-pressure safety switch tripping | Pro — do not override the safety switch |
| Dirty or clogged air filter | Restricted airflow (mimics refrigerant symptoms) | DIY — replace filter and monitor for 24 hours |
What Can You Check Yourself Before Calling a Pro?
There are three safe checks a homeowner can do in about 15 minutes that either confirm the problem is something simple or give a technician useful information before they arrive. Never attempt to add refrigerant yourself — it requires EPA certification and the wrong charge can destroy a compressor.
- Replace or inspect the air filter. A clogged filter reduces airflow across the evaporator coil, which can cause the coil to freeze and mimic a low-refrigerant situation. Check the filter first. A 1-inch standard filter should be replaced every 30 to 60 days in California’s dusty, high-pollen seasons.
- Check the thermostat settings. Confirm the system is set to COOL, the fan is set to AUTO (not ON), and the set temperature is at least 3 to 4 degrees below the current room temperature. A fan set to ON will push uncooled air through the vents even when the compressor is off.
- Look at the copper lines near the air handler. Safely open the access panel on your air handler (turn the system off at the thermostat first) and look at the larger insulated copper line — the suction line. If you see frost or ice anywhere on the line or coil, turn the system off and let it thaw for 2 to 3 hours before calling a technician. Running a frozen system risks compressor damage.
- Check the outdoor condenser for visible damage. Walk around the condenser and look for bent fins, oily residue on the copper lines entering the unit, or any physical damage to the line set. Take a photo — it helps the technician when they arrive.
- Review your last 3 electric bills. A steady climb in kilowatt-hour usage during the same months compared to the previous year, with no change in usage habits, is a data point worth sharing with your technician.
Our technicians find that on roughly 1 in 4 service calls where a homeowner suspects a refrigerant leak, the actual cause is a clogged filter combined with a dirty evaporator coil — both correctable without any refrigerant work. Running through these checks first saves time and, in some cases, the cost of a diagnostic visit.
On roughly 1 in 4 service calls where a homeowner suspects a refrigerant leak, the actual cause is a clogged filter combined with a dirty evaporator coil — both correctable without any refrigerant work.
When Should You Call a Professional for an AC Refrigerant Leak?
Call a licensed HVAC technician any time you suspect a refrigerant leak — handling, recovering, or adding refrigerant without EPA Section 608 certification is a federal violation, and topping off a leaking system without fixing the leak first is money wasted.
Topping off a leaking system without fixing the leak first is money wasted — the refrigerant will escape again, usually within one to two cooling seasons.
A licensed pro will follow a specific repair sequence:
- Recover any remaining refrigerant using an EPA-approved recovery machine.
- Perform a nitrogen pressure test (typically at 150 to 300 psi depending on the system) to locate the leak.
- Use electronic leak detection or UV dye to pinpoint micro-leaks that pressure testing alone may not reveal.
- Repair the leak — brazing the joint, replacing the coil, or replacing the line set section, depending on where the failure is.
- Pressure-test again after repair to confirm the fix held.
- Pull a vacuum on the system for a minimum of 30 minutes (many techs hold it longer) to remove moisture and non-condensables.
- Recharge the system to the manufacturer’s exact specification, verified with manifold gauges.
Skipping the leak repair and simply recharging is a short-term patch. The refrigerant will escape again, usually within one to two cooling seasons, and you will pay for the recharge twice. More importantly, EPA refrigerant regulations (Section 608) require technicians to repair leaks above certain thresholds before recharging commercial and residential equipment.
You should also call a pro immediately — rather than waiting — if you notice any of these conditions:
- The system has been running with ice on the coil for more than a few hours (compressor damage risk).
- You hear grinding or clanking from the outdoor unit (possible compressor failure linked to running low on refrigerant).
- The circuit breaker for the AC trips repeatedly (electrical stress from a struggling compressor).
- The system is more than 15 years old and uses R-22 refrigerant (repair vs. replace math changes significantly at this point).
Across our service calls in Southern California, we see compressor failures spike sharply on systems that ran a full summer with an undiagnosed refrigerant leak — in most of those cases, the homeowner reported the warm-air symptom weeks before the compressor seized but delayed the call.
What Does AC Refrigerant Leak Repair Cost?
In the Southern California market, a complete refrigerant leak repair — including leak detection, the actual repair, and a recharge — typically ranges from $300 to $1,500 depending on where the leak is and how much refrigerant is needed. Simple Schrader valve or fitting repairs sit at the lower end; full evaporator coil replacements push toward the higher end or beyond.
The main factors that move the price:
- Location of the leak: A leaking service valve or accessible joint costs far less to fix than a pinhole in the middle of an evaporator coil buried inside the air handler.
- Type of refrigerant: R-410A is widely available and costs less per pound than R-22. Because R-22 production ended in 2020, reclaimed R-22 can cost several times more per pound than R-410A, sometimes $50 to $150 per pound depending on market supply.
- Amount of refrigerant needed: A typical residential system holds 3 to 5 pounds of refrigerant. Even a partial recharge adds up quickly with R-22.
- Repair method: Brazing a joint costs less than replacing a coil. Coil replacement on a mid-size system typically ranges from $600 to $2,000 in parts and labor in this market.
- System age and refrigerant type: If your system is over 15 years old and uses R-22, replacement of the entire system often makes more financial sense than a costly coil repair plus an expensive R-22 recharge.
New systems installed in California must meet California’s Title 24 building energy standards and carry a minimum ENERGY STAR-aligned SEER2 efficiency rating. Upgrading from a leaking R-22 system to a new high-efficiency unit may also qualify for the Inflation Reduction Act federal tax credit of up to 30 percent of the equipment cost (capped at $600 for central AC units as of 2024 — confirm current limits at energystar.gov). TECH Clean California rebate programs may also apply depending on your utility provider.
Always request a written, itemized estimate before any work begins. A reputable contractor licensed by the California Contractors State License Board (CSLB) will provide one at no obligation.
Explore our full range of HVAC services across Southern California.
Frequently Asked Questions
How do I know if my AC has a refrigerant leak and not just a dirty filter?
Replace the filter first and run the system for 24 hours. If the air is still warm, the coil is icing over, or you hear a hissing sound near the unit, a refrigerant leak is the more likely cause. A licensed technician can confirm with a pressure test and electronic leak detector in about an hour.
Can I just add refrigerant to my AC myself to fix the problem?
No. Handling refrigerant requires EPA Section 608 certification, and adding refrigerant without fixing the leak first is a temporary fix at best. The refrigerant will escape again, usually within one to two seasons, and you will have paid for the recharge twice. A licensed tech must locate and repair the leak before recharging.
How much does it usually cost to repair an AC refrigerant leak in Southern California?
In the Southern California market, a complete repair including leak detection, the fix, and a recharge typically ranges from $300 to $1,500. The biggest cost drivers are where the leak is located, what type of refrigerant the system uses, and how much refrigerant needs to be replaced. R-22 systems cost significantly more to recharge than R-410A systems. Request a written quote from Shalom Heating & Air at (714) 886-2021 for an accurate number for your specific system.
Is it worth repairing a refrigerant leak on an older AC unit, or should I just replace it?
If your system is over 15 years old and uses R-22 refrigerant, replacement usually makes more financial sense than a costly coil repair plus an expensive R-22 recharge. Systems that are 10 to 15 years old with R-410A and a minor leak are generally worth repairing. A technician can walk you through the repair-versus-replace math once the leak location and scope are confirmed.
Why is my AC blowing warm air even though it's running?
Warm air from a running AC most commonly points to low refrigerant from a leak, a frozen evaporator coil, or a clogged air filter restricting airflow. Check and replace the filter first. If the filter is clean and the air is still warm — or if you see ice on the copper lines near the air handler — turn the system off and call a licensed HVAC technician to diagnose the refrigerant charge and inspect for leaks.